
OTA firmware update images must conform to the Matter OTA Software Image file format, which includes:
- A file identifier that uniquely identifies the file as being a Matter firmware update file
- The size of the file
- The header size
- A Tag-length-value (TLV)-encoded header containing information about the
update, including:
- VID
- PID
- software version
- The payload
The Matter SDK provides a tool to create and inspect
Matter OTA images
(ota_image_tool.py).
Some build systems can create Matter OTA images
automatically, so check your SoC documentation.
Create an OTA image
Use ota_image_tool.py to create the image:
$ ./ota_image_tool.py create \
  -v hexVendorId \
  -p hexProductId \
  -vn versionNumber \
  -vs "versionString" \
  -da "hash-function \
  path_to_binary \
  path_to_ota_file
To verify the metadata set and the header of the file, run the script with the
show command:
$ ./ota_image_tool.py show path_to_ota_file
Example output:
Magic: 1beef11e
Total Size: 90
Header Size: 62
Header TLV:
  [0] Vendor Id: XXXX (0xXX)
  [1] Product Id: XXX (0xXX)
  [2] Version: 101 (0x65)
  [3] Version String: 1.0.1
  [4] Payload Size: 12 (0xc)
  [8] Digest Type: 1 (0x1)
  [9] Digest: a948904f2f0f429b8f8197694b30184b0d2ed1c3cd2a1ec0fb85d299a193a447
Upload the OTA image
To upload the image to the Google Home Developer Console:
Open your project, then open your device.
Go to Matter > OTA.
Click Manage OTA next to the device in the Integrations list.
On the Manage tab, click Add OTA Image.
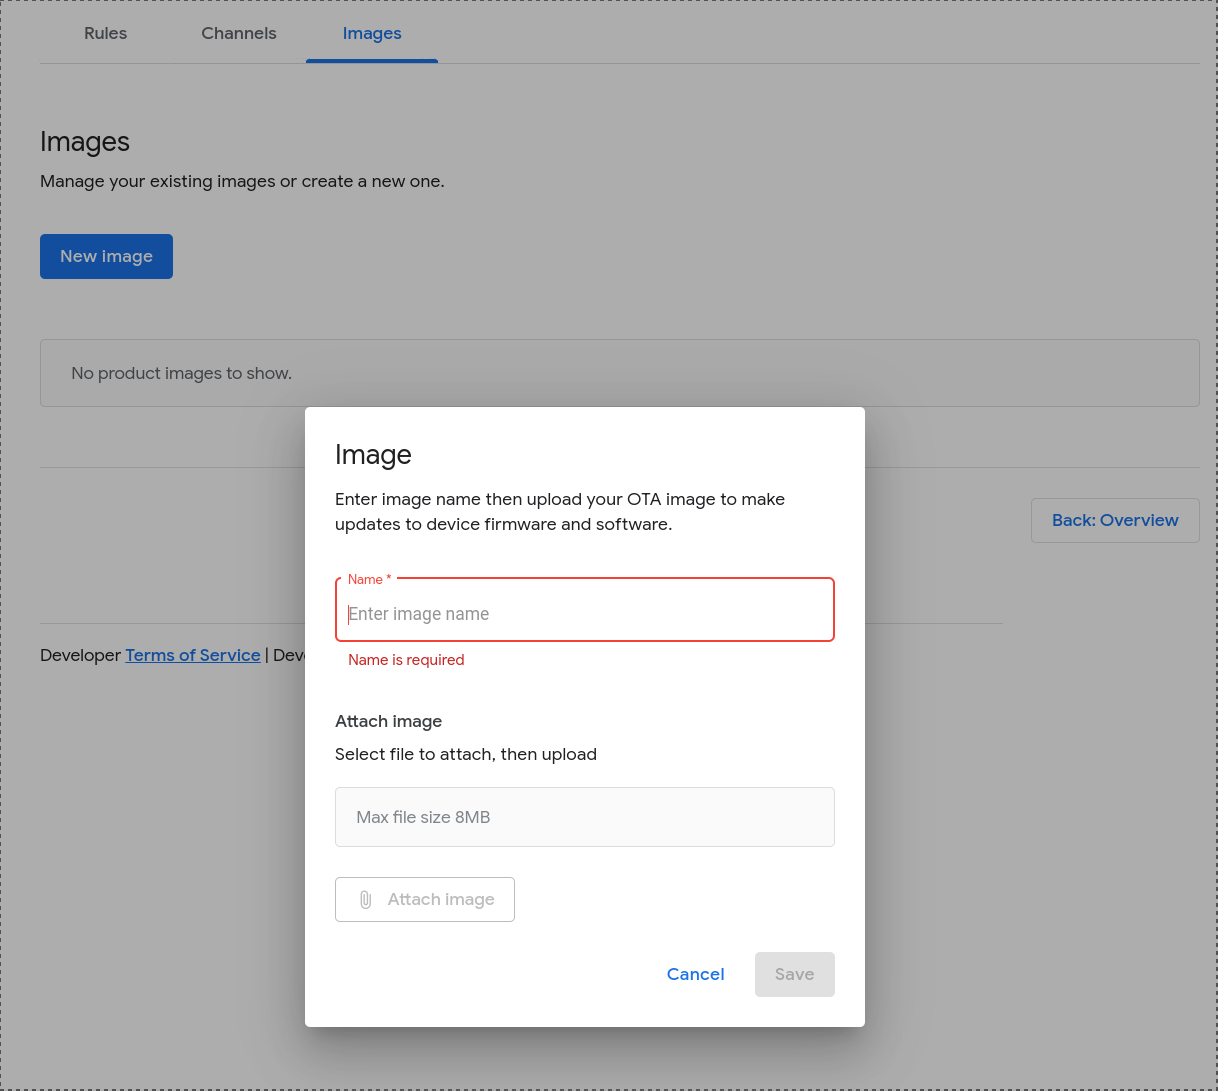
Click Upload to select and upload the image file.
Once the image is successfully validated, its filename appears under the Upload button.
The OTA image is available for distribution shortly after uploading.
Add or modify an OTA image description
Go to Matter > OTA.
On the Manage tab, click Open next to the image you want to modify.
In the OTA image details dialog, you may change the image description.
Click Cancel or Save.
Delete an OTA image
You cannot delete an OTA image that is in the Released state, you can only delete those in the Ready state. To delete an OTA image in the Ready state:
Go to Matter > OTA.
On the Manage tab, click the 'more' menu next to the OTA image and select Delete.