Pair your Matter-enabled device. To do this, you'll need a QR code for pairing. Depending on the platform of your Matter device, you may need to generate this QR code yourself.
Get a QR code
Bouffalo Lab
BL602
The QR code string is printed in the serial console when device boots up. Check out your serial console and you should see messages like this:
Booting BL602 Chip...
██████╗ ██╗      ██████╗  ██████╗ ██████╗
██╔══██╗██║     ██╔════╝ ██╔═████╗╚════██╗
██████╔╝██║     ███████╗ ██║██╔██║ █████╔╝
██╔══██╗██║     ██╔═══██╗████╔╝██║██╔═══╝
██████╔╝███████╗╚██████╔╝╚██████╔╝███████╗
╚═════╝ ╚══════╝ ╚═════╝  ╚═════╝ ╚══════╝
...
[INFO] ==================================================
[INFO] chip-bl602-lighting-example starting
[INFO] ==================================================
...
[INFO] [SVR] SetupQRCode: [MT:NOTAREALQRCODE01234]
[INFO] [SVR] Copy/paste the below URL in a browser to see the QR Code:
[INFO] [SVR] https://project-chip.github.io/connectedhomeip/qrcode.html?data=MT%NOTAREALQRCODE01234
...
Open the link in a web browser to display the QR code.
BL702
The QR code string is printed in the serial console when device boots up. Check out your serial console and you should see messages like this:
[         0][-][PROGR] ==================================================
[         0][-][PROGR] bouffalolab chip-lighting-example, built at Dec 14 2022 02:05:19
[         0][-][PROGR] ==================================================
...
[      1636][-][PROGR] Starting OpenThread task
[      1655][DL][PROGR] Device Configuration:
[      1703][DL][PROGR]   Serial Number: TEST_SN
[      1703][DL][PROGR]   Vendor Id: 65521 (0xFFF1)
[      1703][DL][PROGR]   Product Id: 32773 (0x8005)
[      1752][DL][PROGR]   Hardware Version: 0
[      1799][DL][PROGR]   Setup Pin Code (0 for UNKNOWN/ERROR): 20202021
[      1846][DL][PROGR]   Setup Discriminator (0xFFFF for UNKNOWN/ERROR): 3840 (0xF00)
[      1893][DL][PROGR]   Manufacturing Date: (not set)
[      1893][DL][PROGR]   Device Type: 65535 (0xFFFF)
[      1987][SVR][PROGR] SetupQRCode: [MT:NOTAREALQRCODE01234]
[      1987][SVR][PROGR] Copy/paste the below URL in a browser to see the QR Code:
[      1988][SVR][PROGR] https://project-chip.github.io/connectedhomeip/qrcode.html?data=MT%NOTAREALQRCODE01234
Espressif
Getting the QR code differs for each type of ESP32-based kit:
ESP32 DevkitC
- Connect the device to a host machine and use a serial
terminal to connect to it and display its logs. For example, on a
Linux host machine, you might use
screen /dev/ttyUSB0
            115200
to connect to the device and view logs if it is attached to the host at/dev/ttyUSB0. - A URL is displayed in the logs when the device is first booted.
Open the link in a web browser to display the QR code.

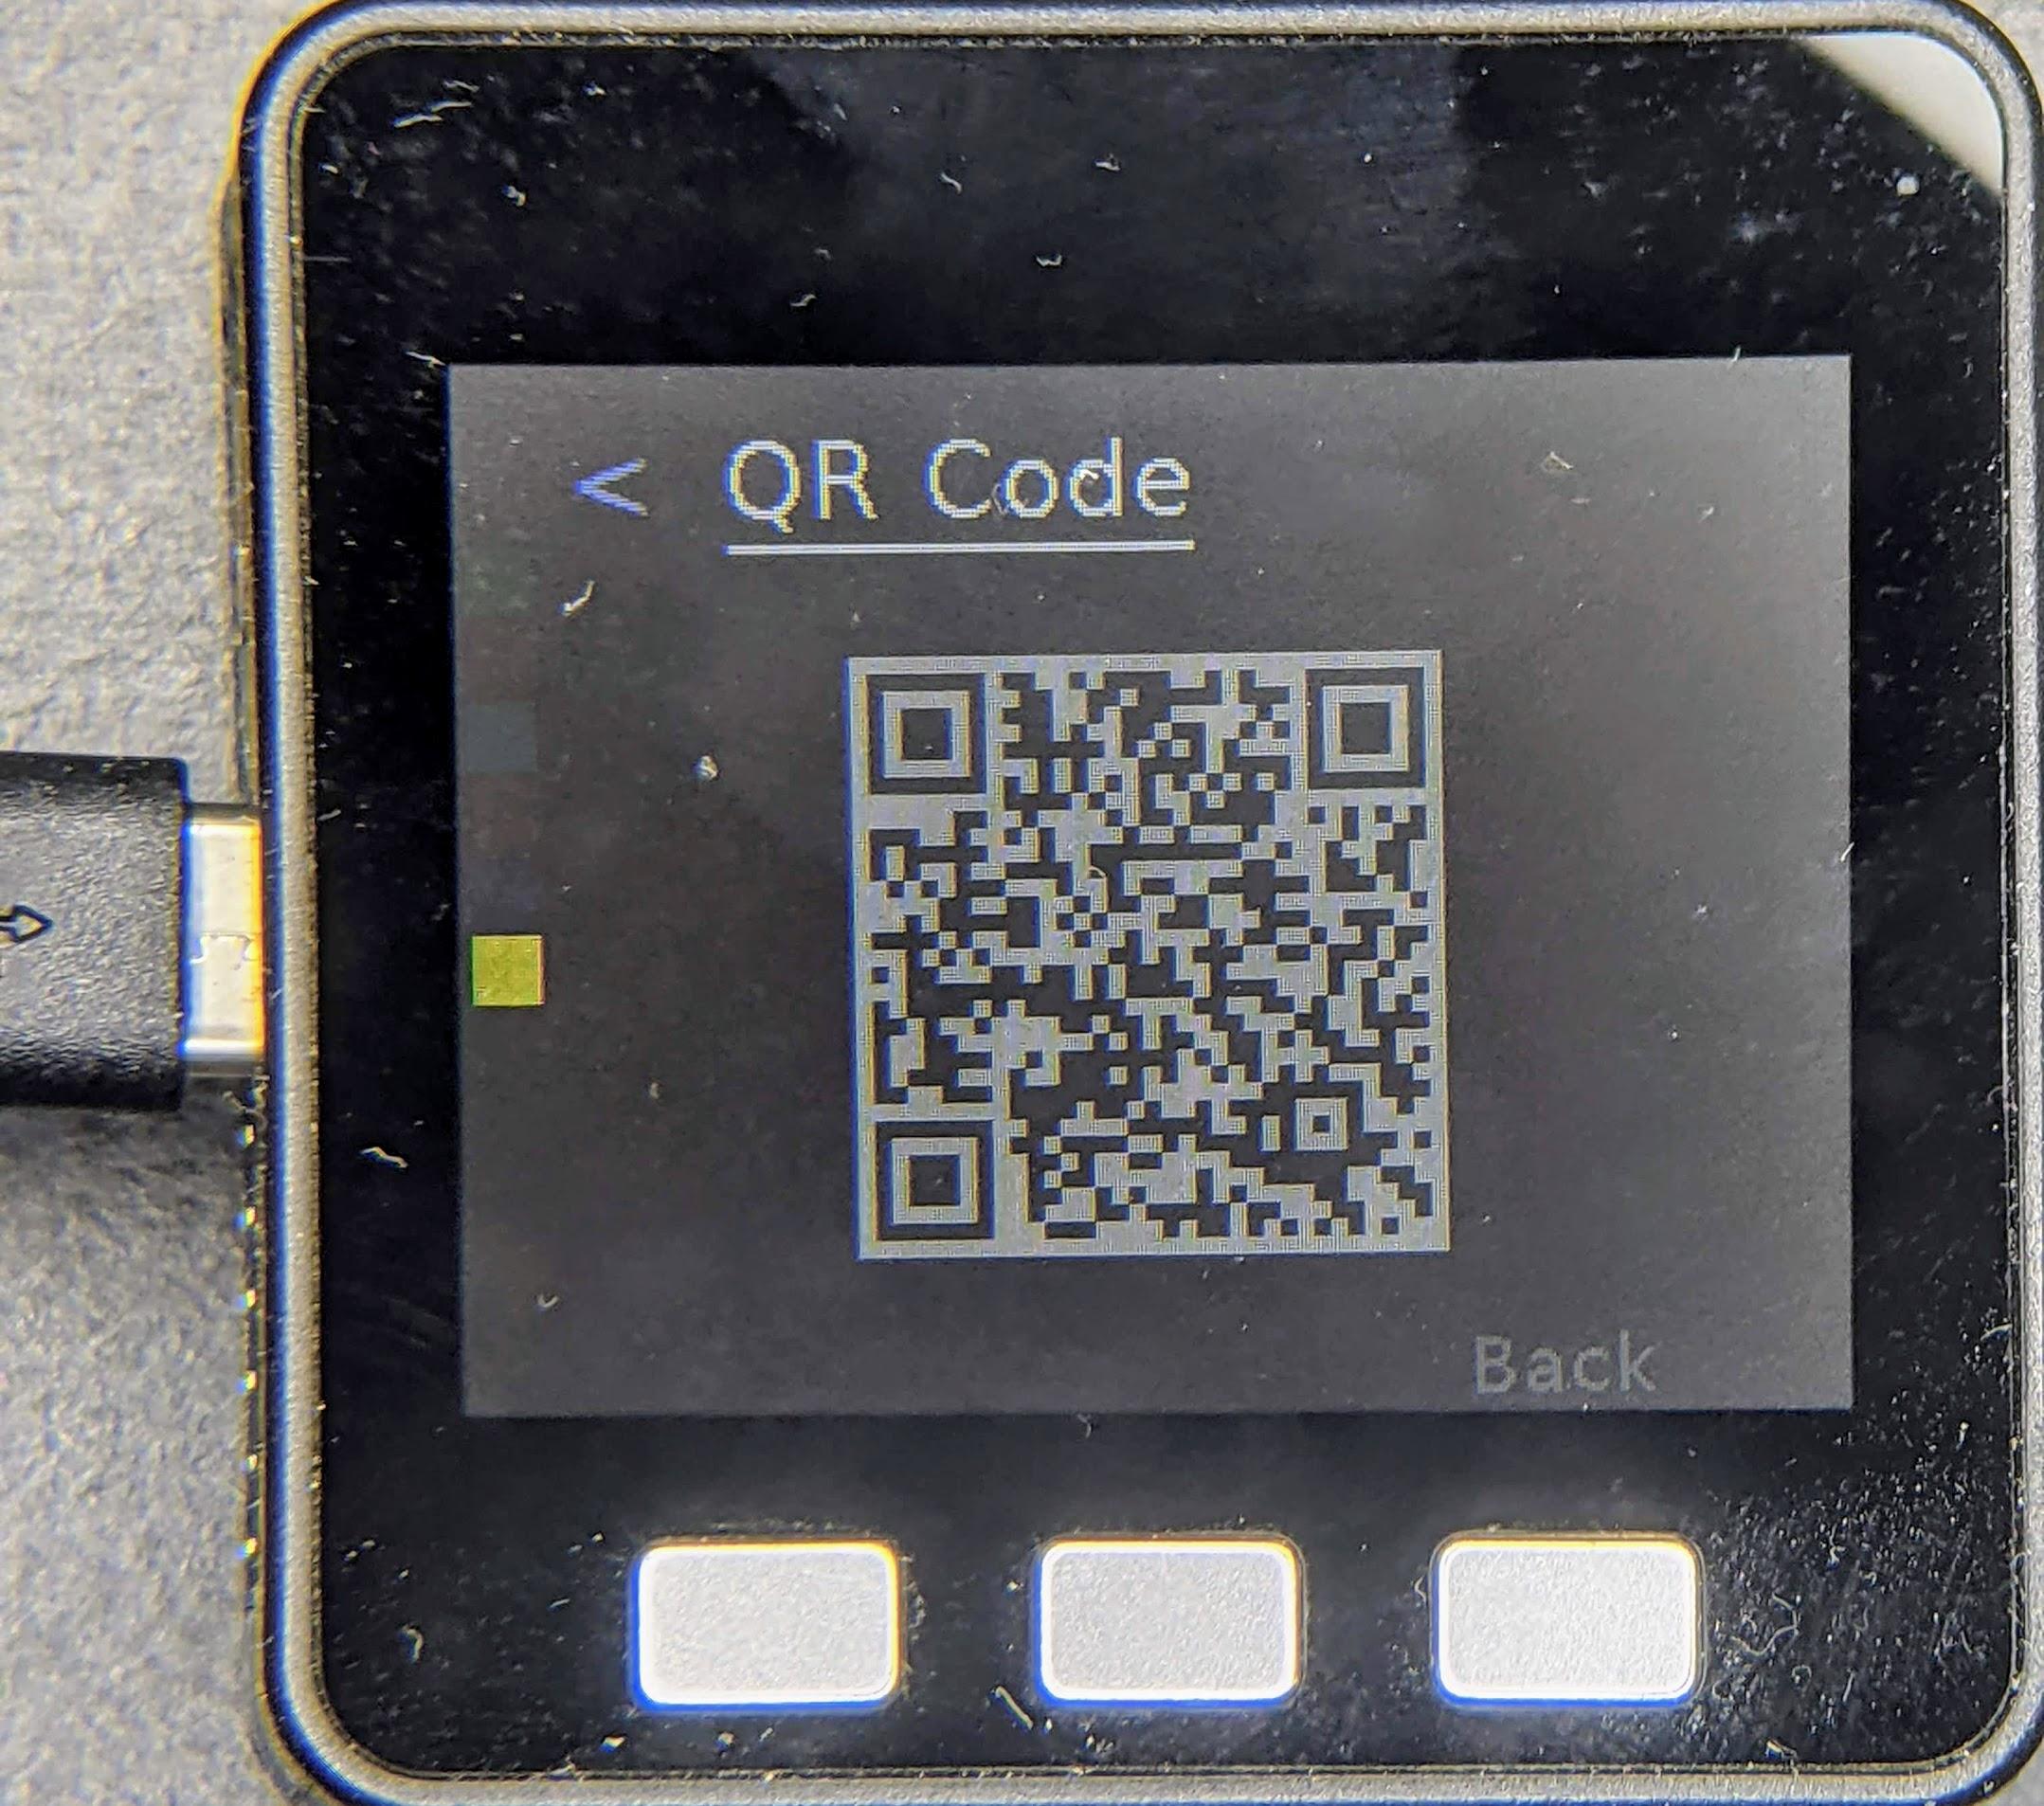
M5Stack ESP32
When first booted, the device will display a QR code menu option. Select it to see the QR code in the device's display.

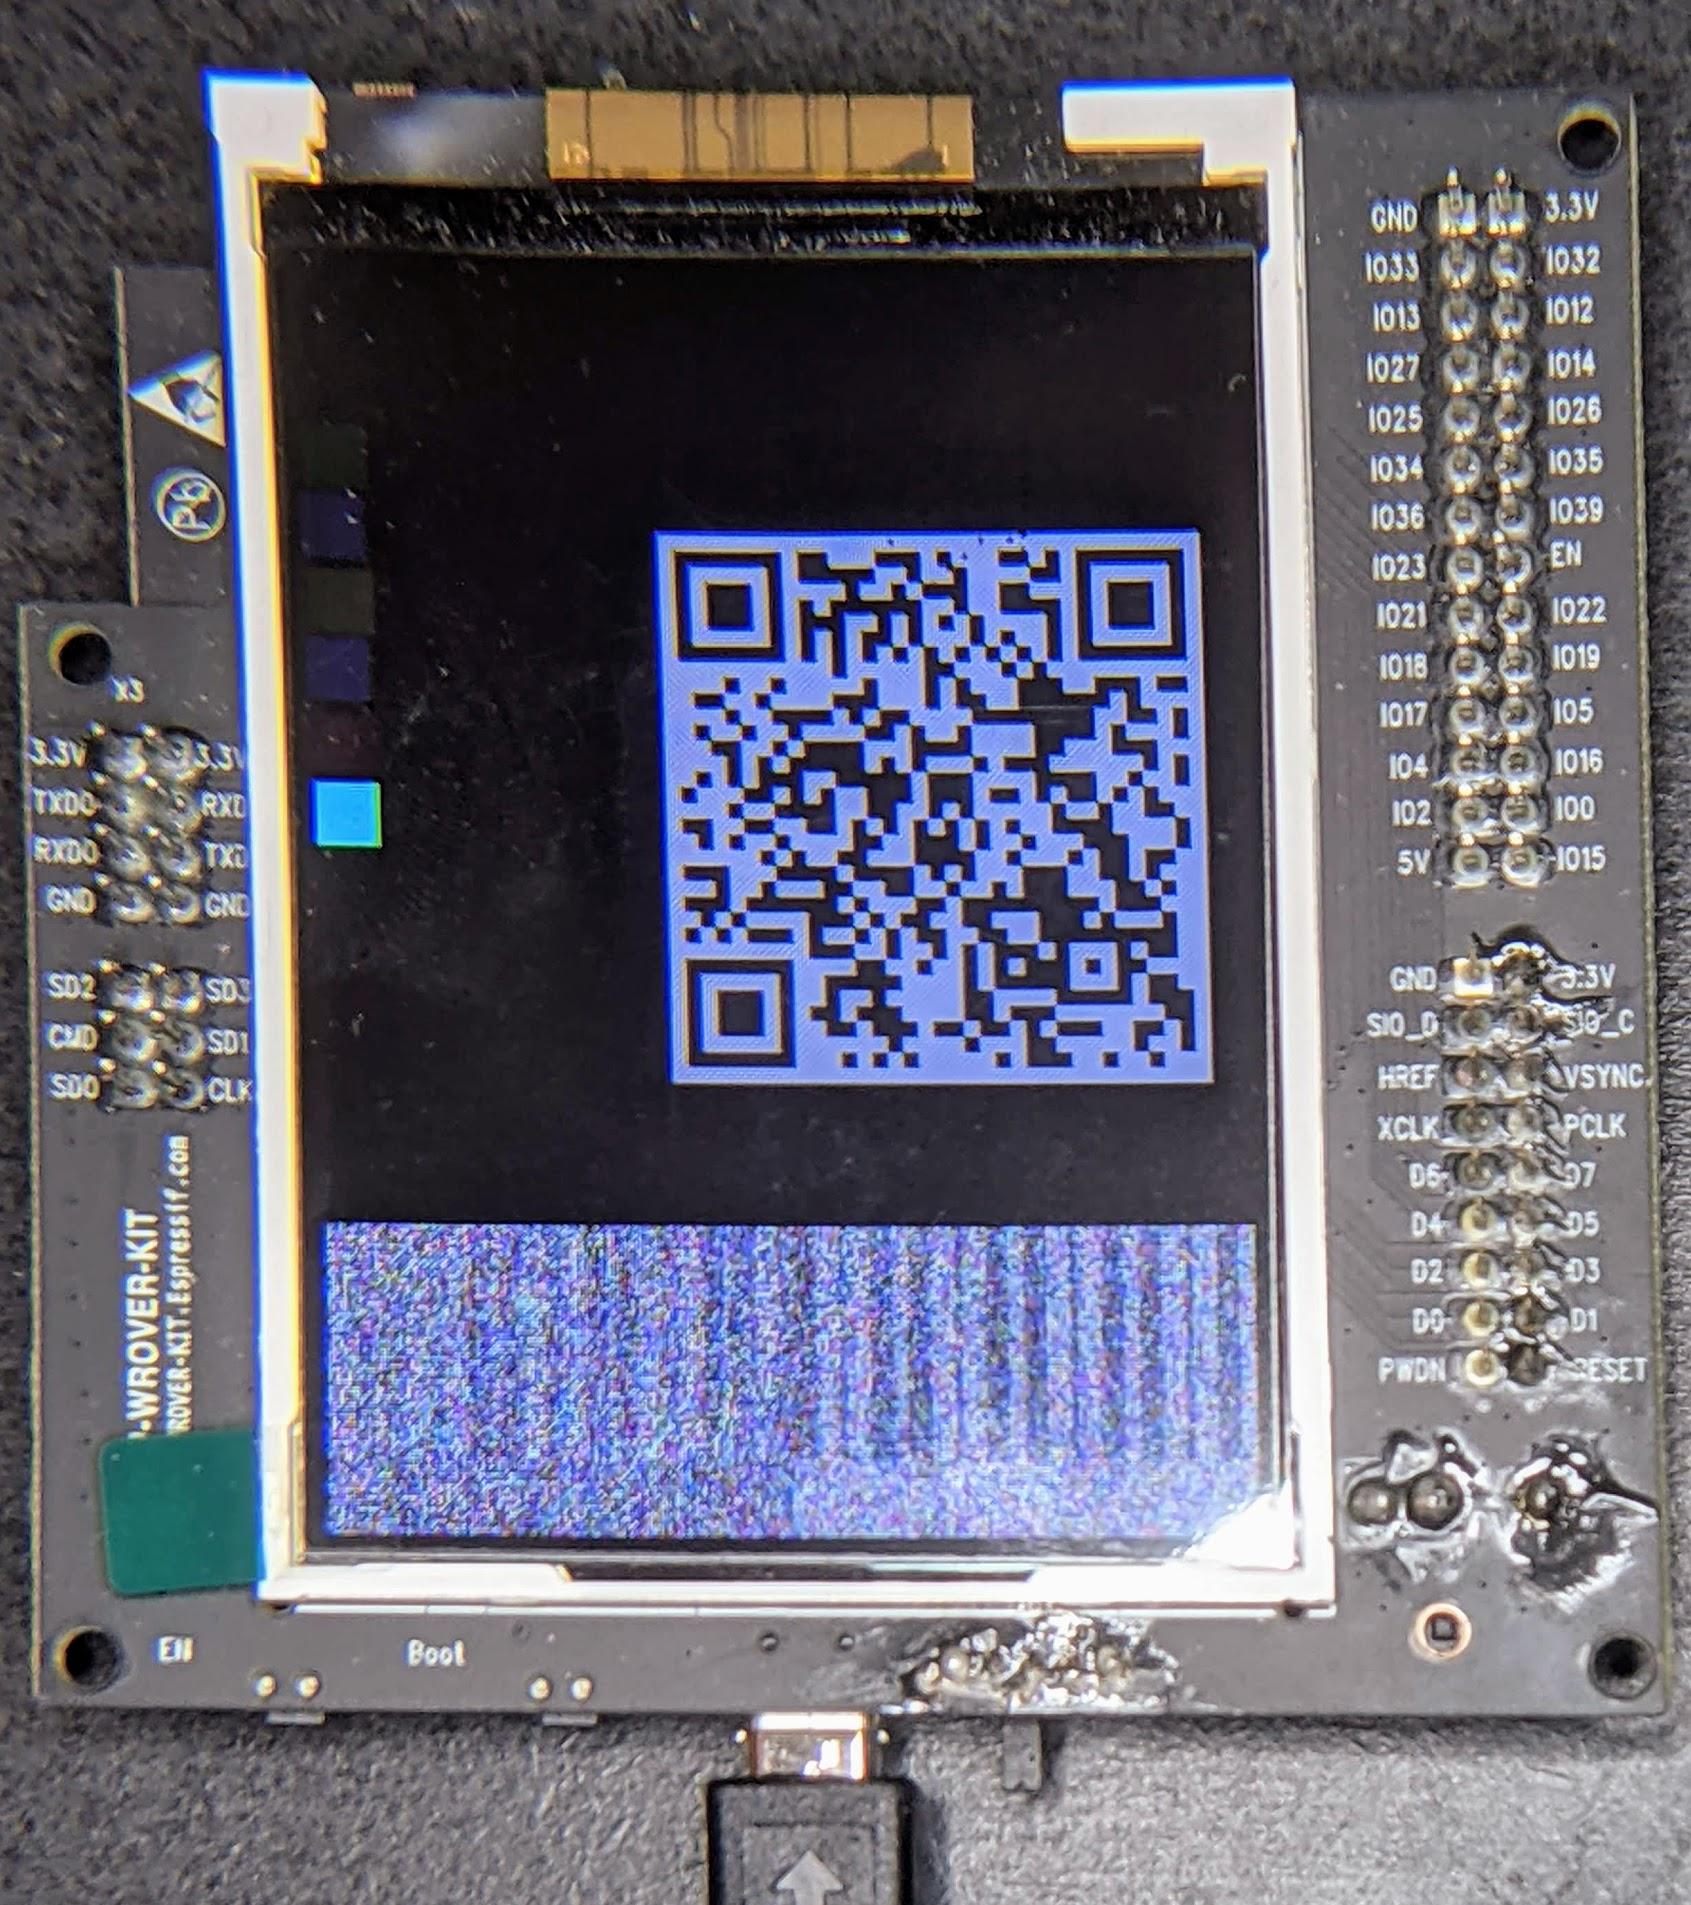
ESP32 WROVER Kit
The device shows the QR code immediately after booting.

Nordic Semiconductor
nRF52840
Since the nRF52840 board doesn't have a display, the QR code string is printed in the serial console when it boots up. For example:
I: 1317 [SVR]SetupQRCode:  [MT:I347HHY00 0C9SS0]
I: 1321 [SVR]Copy/paste the below URL in a browser to see the QR Code:
I: 1327 [SVR]https://project-chip.github.io/connectedhomeip/qrcode.html?data=MT%3AI347HHY00%200C9SS0
Open the link in a web browser to display the QR code.
NXP
K32W
The QR code string is printed in the serial console when device boots up. Check out your serial console and you should see messages like this:
[Info]Welcome to NXP Lighting Demo App
[Info]OpenThread started: OK
...
[Info]Server Listening...
[Info]SetupQRCode:  [MT:I34DVDY00 0C9SS0]
[Info]Copy/paste the below URL in a browser to see the QR Code:
[Info]https://project-chip.github.io/connectedhomeip/qrcode.html?data=MT%3AI34DVDY00%200C9SS0
...
Open the link in a web browser to display the QR code.
Realtek
Ameba D
The QR code is encoded in a URL, which is printed in the serial console when the Ameba D board boots up:
Setup PIN code: 20202021 (0x1344225)
Short Manual(decimal) setup code: 34970112332
Long Manual(decimal) setup code: 749701123309050652796
QR CODE Text: 'MT:NOTAREALQRCODE01234'
Copy/paste the below URL in a browser to see the QR CODE:
Open the link in a web browser to display the QR code.
Silicon Labs
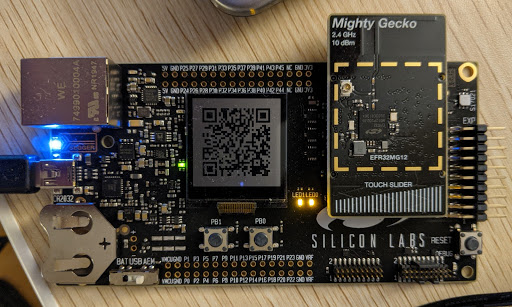
EFR32MG12
Once the board boots up, you should find a QR code on its small LCD display.

Telink
TLSR9518
The QR code string is printed in the serial console when the device boots up. Check the serial console and you should see a URL that will display the QR code when opened in a browser:
*** Booting Zephyr OS build v3.1.0-rc1-3593-gdac17979d626  ***
I: Init CHIP stack
I: Starting CHIP task
…
I: 812 [DL]BLEManagerImpl::ConfigureAdvertisingData
I: 823 [DL]Setting device name to : "TelinkMatter"
…
I: 1093 [SVR]SetupQRCode: [MT:NOTAREALQRCODE01234]
I: 1099 [SVR]Copy/paste the below URL in a browser to see the QR Code:
I: 1107 [SVR]https://project-chip.github.io/connectedhomeip/qrcode.html?data=MT%3ANOTAREALQRCODE01234
Pair the device
There are two ways to pair the device:
- Google Home app (GHA)
- Google's Home Mobile and Thread Network SDKs for Android (which can be used in a 3rd party app)
Both methods use the same Matter and Thread Network APIs.
Google Home App
- Open the GHA.
- Tap on the in the upper-left corner.
- Tap on Set up device.
- Tap on New device.
- Select your home and tap on Next.
- GHA will scan for your device. Once it prompts on whether you'd like to set up your device, tap on Set up a different device.
- Tap on Matter device for any device type.
- Point your camera at your device's QR code (or the website-generated QR code).
- Continue the pairing process as indicated in the GHA flow.
If you encounter any issues during pairing with GHA on your mobile device:
- Make sure you have Developer options enabled for your mobile device.
- Immediately after the failed pairing attempt, capture a bug report.
Android SDKs
Android SDKs have been made available in Play services for testing and pairing in a 3rd party app.
We suggest starting with the Google Home Sample App for Matter, which illustrates how to commission, pair, and control a Matter-enabled device in the Google Home ecosystem with these SDKs.
Reference documentation for both SDKs is available on this site:
Pairing restrictions
A Matter device can only be paired in the Google Home ecosystem in certain Vendor ID and device type scenarios.
- A test VID cannot be used in a consumer device.
- Your production VID must issued by the Connectivity Standards Alliance (Alliance). Google will validate you're the owner of that VID before you can use it in the Google Home Developer Console. Once that happens you'll be able to create integrations for that VID.
- For development and Field Trial purposes, a project and integration with the corresponding VID and PID combination must be created in the Developer Console. The user commissioning the device must either be a member of the project or be included in the list of Field Trial users.
- Consumer users can only use your product once it has been certified by the Alliance.
VID and PID can only be used once for one integration. If you want to use the same VID or PID in your integration, you need to either:
- Edit the integration using the VID or PID to a different VID or PID.
- Delete the integration using the VID or PID.
| Which types of users can commission the device into the Google Home ecosystem? | |||
|---|---|---|---|
| VID type | VID certification and console integration status | Production
(Consumer users) |
Development
(Developers, Field Trial users) |
| Test | No integration in the Developer Console (cannot be certified) | ||
| Test | Integration exists in the Developer Console (cannot be certified) | ||
| Production | Not certified, integration does not exist in the Developer Console | ||
| Production | Not certified, integration exists in the Developer Console | ||
| Production | Certified in the Alliance DCL, integration does not exist in the Developer Console | ||
| Production | Certified in the Alliance DCL and integration exists in the Developer Console | ||
Device information
Technical information for the paired device can be viewed in the GHA.
- In the GHA, select the device.
- Tap the icon in the upper right.
- Tap Technical information.
Identifiers such as Manufacturer, Model, and Hardware version come
from the Matter firmware on the device, not from the
Developer Console. For example, the
CHIP_DEVICE_CONFIG_DEVICE_VENDOR_NAME and
CHIP_DEVICE_CONFIG_DEVICE_PRODUCT_NAME values in the device configuration in
the Matter SDK.
These identifiers can be helpful to validate which device has been paired for Test purposes, especially when using a test Vendor ID and Product ID (which can be duplicated across integrations).
Troubleshooting pairing
If you've paired a device with a test Vendor ID (VID) and Product ID (PID), but it does not appear when you attempt to test the device with the Test Suite in Developer Console, this is likely caused by using the same test VID and PID combo across multiple integrations.
To troubleshoot, remove all test devices from Developer Console and pair the device you wish to test again.
To validate that you've paired the correct one, you can set the Manufacturer and
Model information (CHIP_DEVICE_CONFIG_DEVICE_* values) for the device to
unique values in your test firmware.
See Device information for more information.
