
1. Before you begin
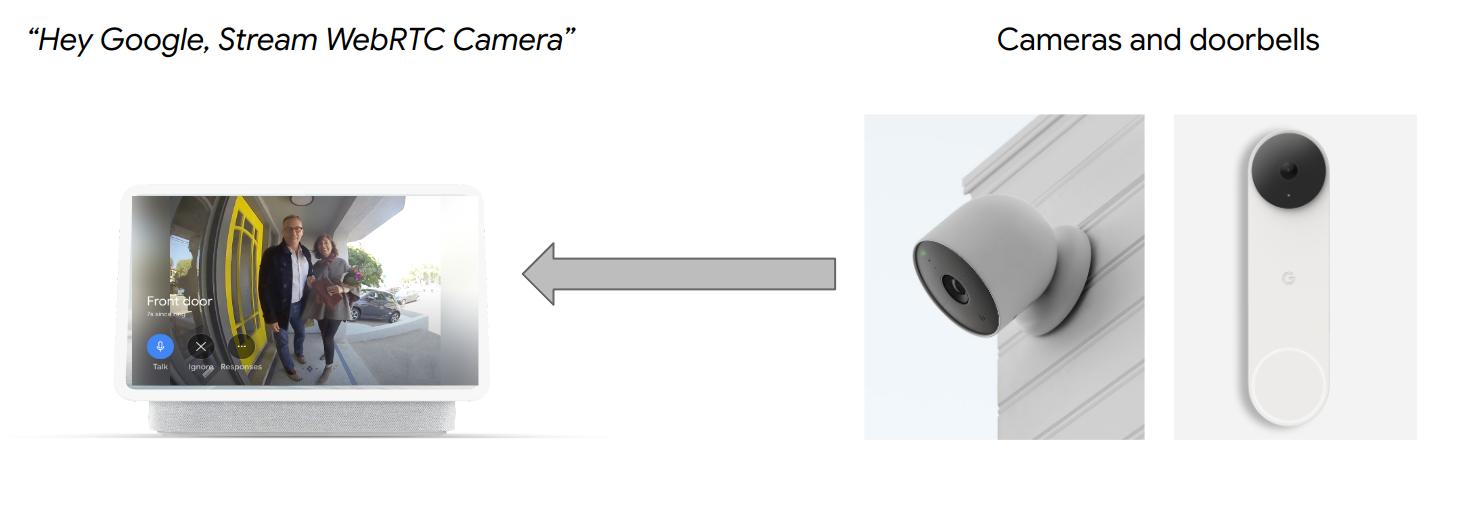
The CameraStream trait belongs to devices with the capability to stream video feeds to smart displays, Chromecast devices, and smartphones. The WebRTC protocol is now supported within the CameraStream trait, which means that you can greatly reduce startup and streaming latency from a camera device to a Google Nest display device.
Prerequisites
- Review Cloud-to-cloud primer.
What you'll learn
- How to deploy a smart home cloud service.
- How to connect your service to Google Assistant.
- How to stream to a Google Nest display device with the WebRTC protocol.
What you'll need
- A web browser, such as Google Chrome.
- An iOS or Android device with the Google Home app.
- Node.js version 24 or later.
- Blaze (pay-as-you-go) plan for Firebase.
- A built-in or external webcam device that can support full HD resolution.
- A Google Nest display device.
2. Get started
Install the Firebase CLI
The Firebase CLI lets you serve your web apps locally and deploy them to Firebase Hosting.
To install the Firebase CLI, follow these steps:
- In your terminal, download and install the Firebase CLI:
$ npm install -g firebase-tools
- Verify that the CLI installed correctly:
$ firebase --version
- Authorize the Firebase CLI with your Google Account:
$ firebase login
Create a project
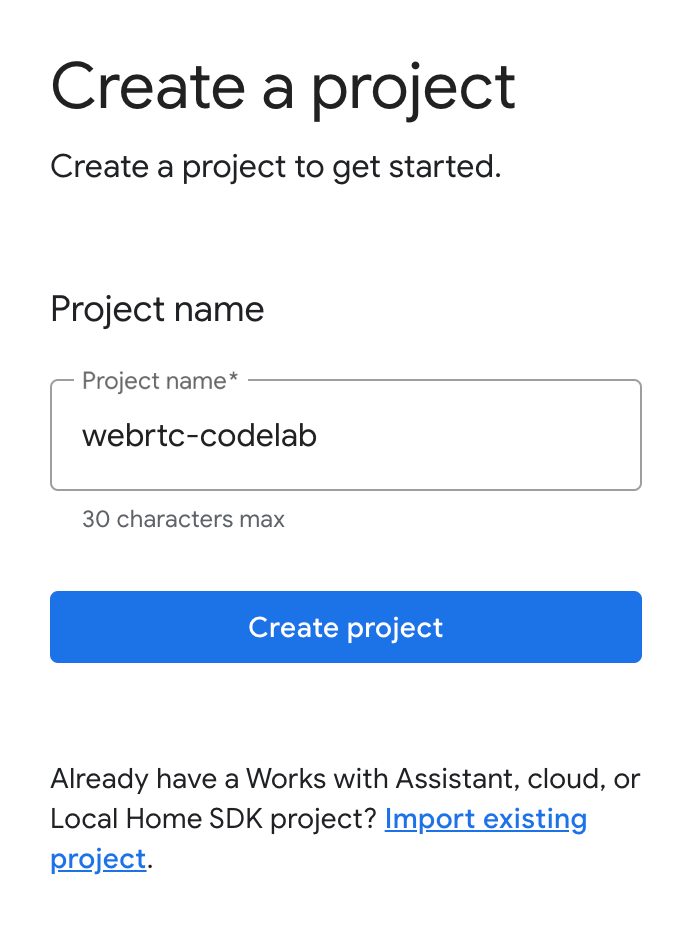
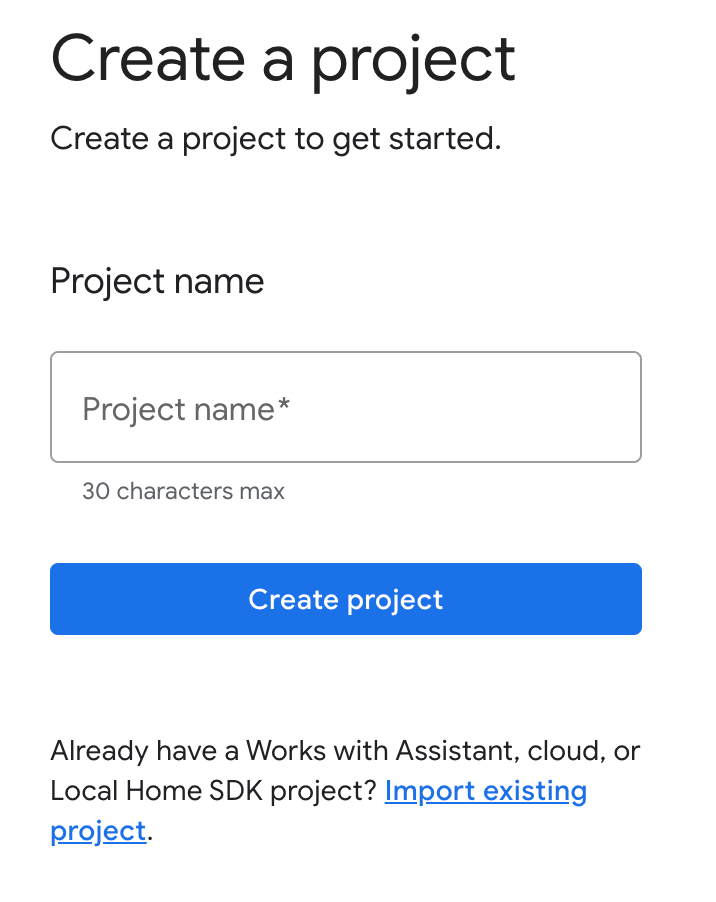
- Go to the Google Home Developer Console.
- Click Create Project, enter a name for the project, and click Create Project.
Run the CameraStream client app
The source code for this codelab includes a WebRTC client that establishes, negotiates, and manages the WebRTC session between the webcam and Google smart home display device.
To run the CameraStream WebRTC client app, do one of the following:
- Click the following button to download the source code to your development machine:
- Clone this GitHub repository:
$ git clone https://github.com/google-home/smarthome-camerastream-webrtc.git
The code contains the following directories:
- The
camerastream-startdirectory, which contains the starter code upon which you build. - The
camerastream-donedirectory, which contains the solution code for the finished codelab.
The camerastream-start directory contains the following subdirectories:
- The
publicsubdirectory, which contains a frontend UI to easily control and monitor the state of your camera device. - The
functionssubdirectory, which contains a fully implemented cloud service that manages the camera with Cloud Functions for Firebase and Realtime Database.
The starter code contains TODO comments that indicate where you need to add or change code, such as the following example:
// TODO: Implement full SYNC response.
Add Firebase to your Google Home Developer Console project
Method 1: Through the Firebase console
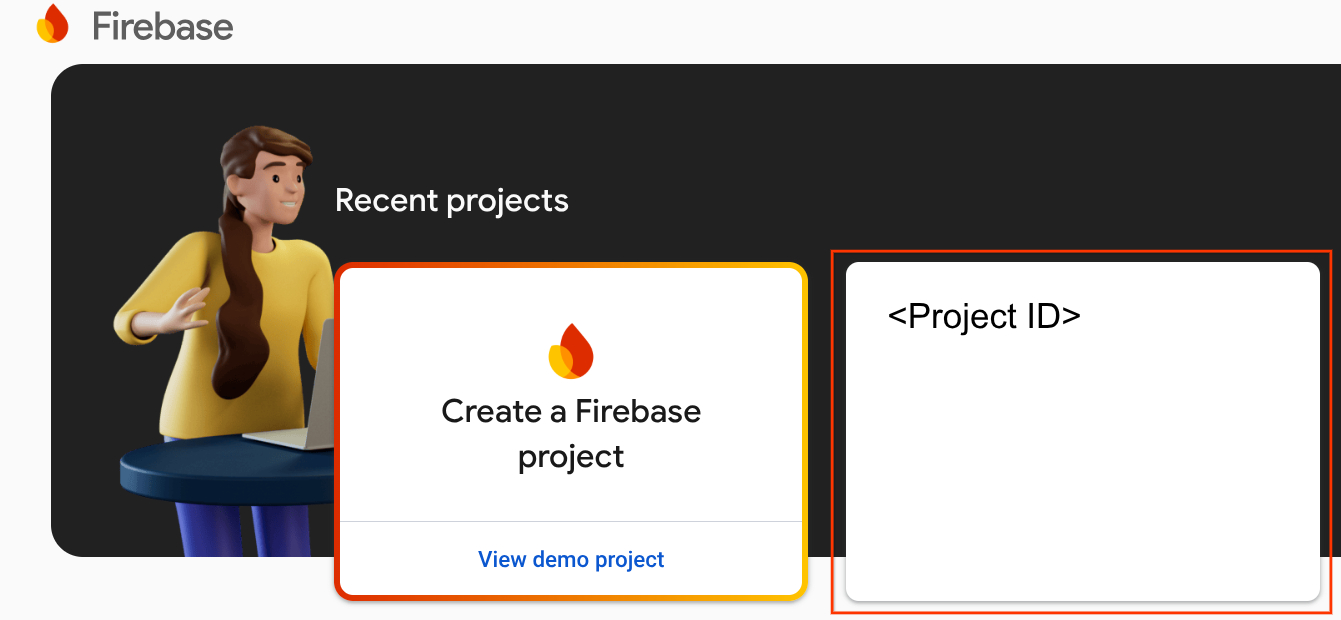
- Go to Firebase.
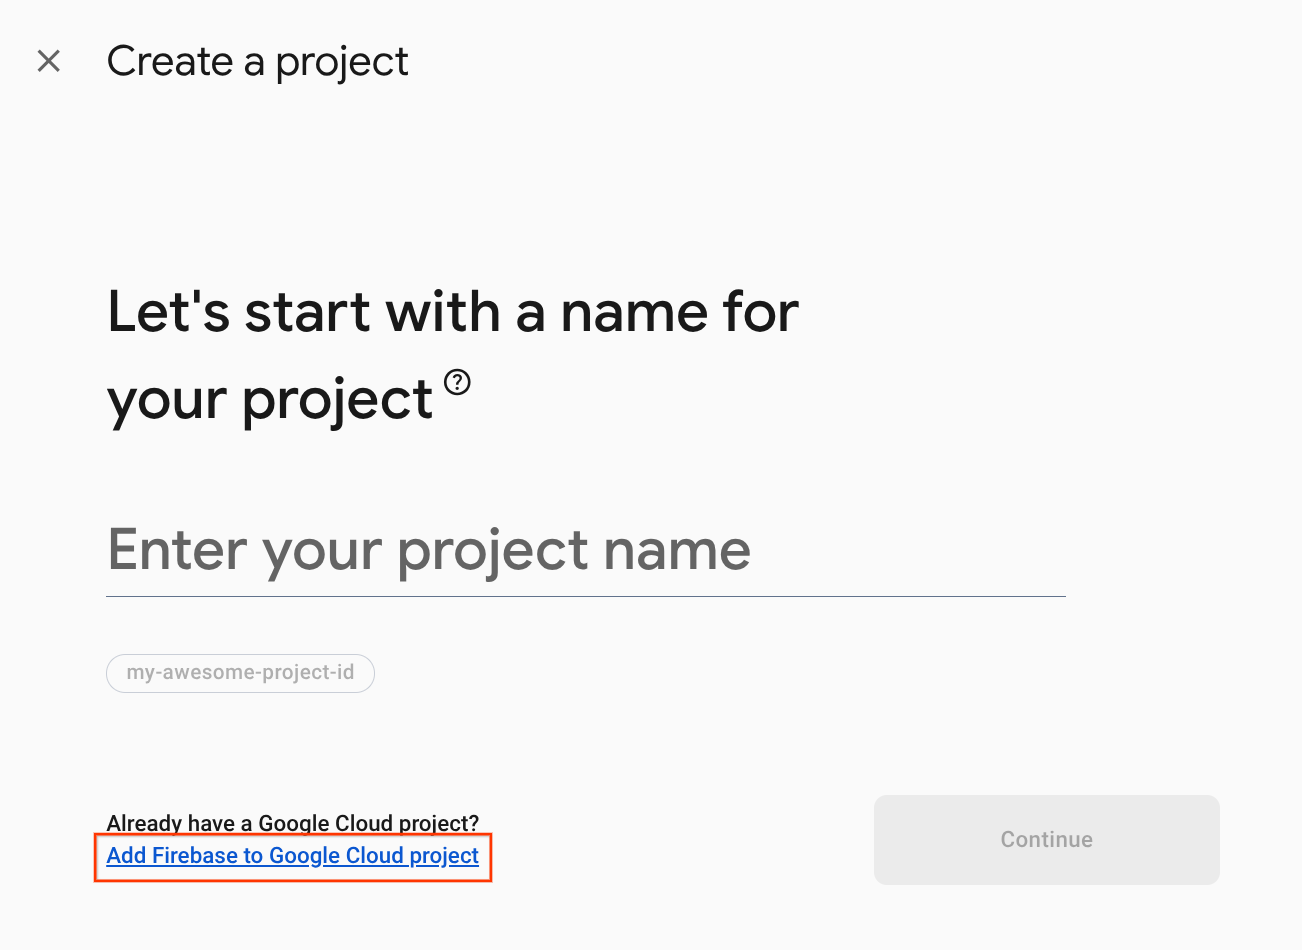
- Click Create a Firebase project.
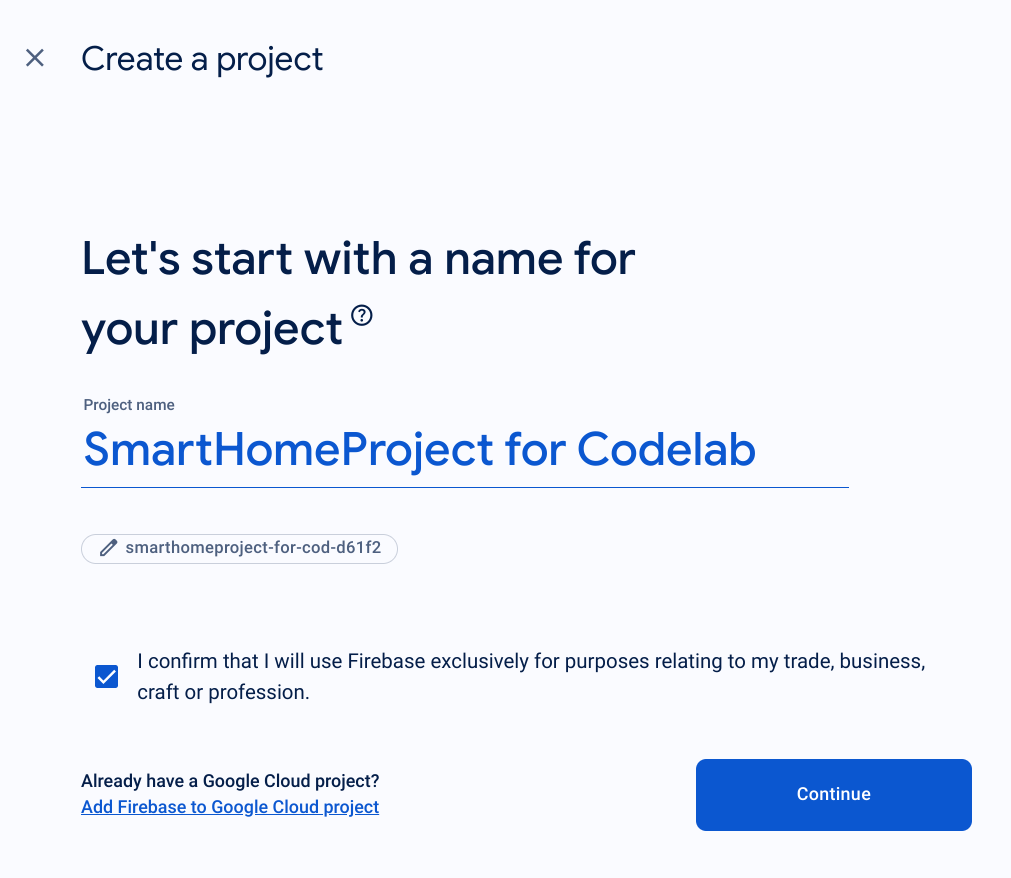
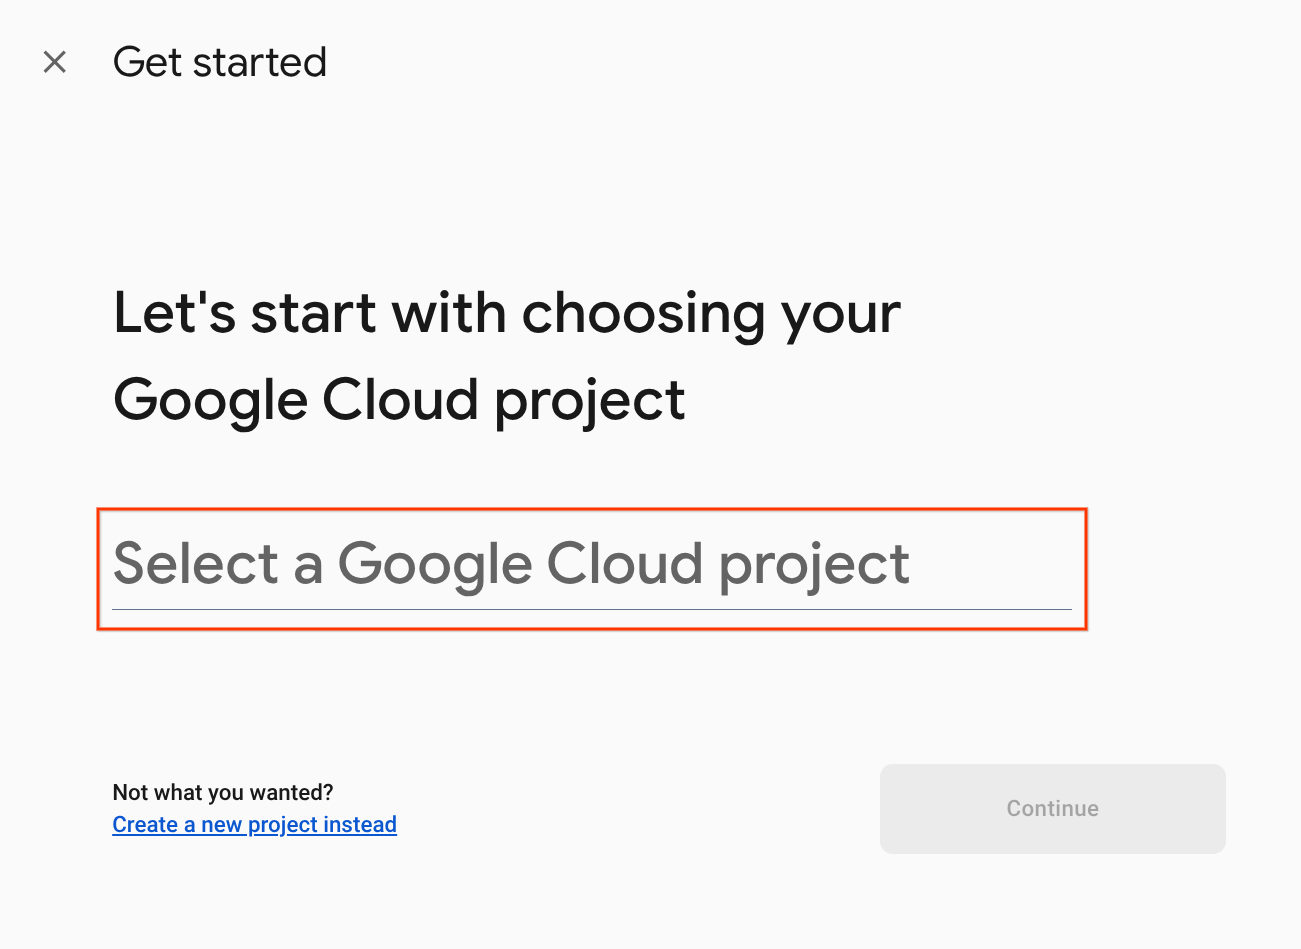
- On the Create a project screen, click Add Firebase to Google Cloud project.
- On the Get started screen, select the Google Cloud project you just created in the Google Home Developer console and then click Continue.
Method 2: Through the Firebase CLI
firebase projects:addfirebase
Select the Google Home Developer Console project you just created to add Firebase.
When Firebase is added to your Google Home Developer Console project, it will appear in the Firebase Console. The Project ID of the Firebase project will align with your Google Home Developer Console project ID.
Connect to Firebase
- Navigate to the
camerastream-startdirectory and then set up the Firebase CLI with your Actions project:
$ cd camerastream-start
$ firebase use <project-id>
- In the
camerastream-startdirectory, navigate to thefunctionsfolder and then install all the necessary dependencies:
$ cd functions
$ npm install
- If you see the following message, ignore it. This warning is due to older dependencies. For more information, see this GitHub issue.
found 5 high severity vulnerabilities
  run `npm audit fix` to fix them, or `npm audit` for details
- Initialize a Firebase project:
$ firebase init
- Select Functions and Hosting. This initializes the necessary APIs and features for your project.
? Which Firebase features do you want to set up for this directory? Press Space to select features, then Enter
 to confirm your choices. (Press <space> to select, <a> to toggle all, <i> to invert selection, and <enter> to
 proceed)
>( ) Data Connect: Set up a Firebase Data Connect service
 ( ) Firestore: Configure security rules and indexes files for Firestore
 ( ) Genkit: Setup a new Genkit project with Firebase
 (*) Functions: Configure a Cloud Functions directory and its files
 ( ) App Hosting: Configure an apphosting.yaml file for App Hosting
 (*) Hosting: Configure files for Firebase Hosting and (optionally) set up GitHub Action deploys
 ( ) Storage: Configure a security rules file for Cloud Storage
 ( ) Emulators: Set up local emulators for Firebase products
 ( ) Remote Config: Configure a template file for Remote Config
 ( ) Extensions: Set up an empty Extensions manifest
 (*) Realtime Database: Configure a security rules file for Realtime Database and (optionally) provision
default instance
 ( ) Data Connect: Set up a Firebase Data Connect service
 ( ) Firestore: Configure security rules and indexes files for Firestore
- Configure Cloud Functions with the default files, and ensure that you don't overwrite the existing
index.jsandpackage.jsonfiles in the project sample:
? Would you like to initialize a new codebase, or overwrite an existing one?
Overwrite

? What language would you like to use to write Cloud Functions?
JavaScript

? File functions/package.json already exists. Overwrite?
No

? File functions/index.js already exists. Overwrite?
No

? Do you want to install dependencies with npm now?
Yes
- Configure Hosting with the
publicdirectory in the project code and use the existingindex.htmlfile:
? What do you want to use as your public directory?
public

? Configure as a single-page app (rewrite all urls to /index.html)?
Yes

? Set up automatic builds and deploys with GitHub?
No

? File public/index.html already exists. Overwrite?
 No
3. Exchange Session Description Protocol (SDP) Messages
The exchange of SDP messages is an important step in the establishment of a WebRTC stream. SDP is a text-based protocol that describes the characteristics of a multimedia session. It's used in WebRTC to negotiate the parameters of a peer-to-peer connection, such as the codecs used, the IP addresses of the participants, and the ports used for media transport.
To use Realtime Database as a host to exchange SDP messages between your webcam and the smart home CameraStream client app, follow these steps:
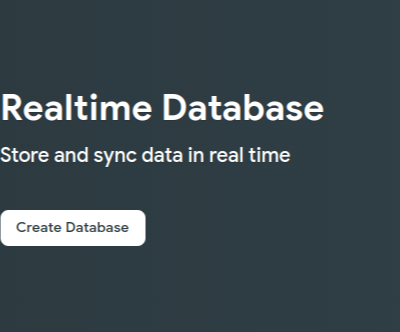
- In the Firebase console, click Build > Realtime Database > Create database.
- In the Realtime Database location drop-down menu, select an appropriate location from which to host your database.
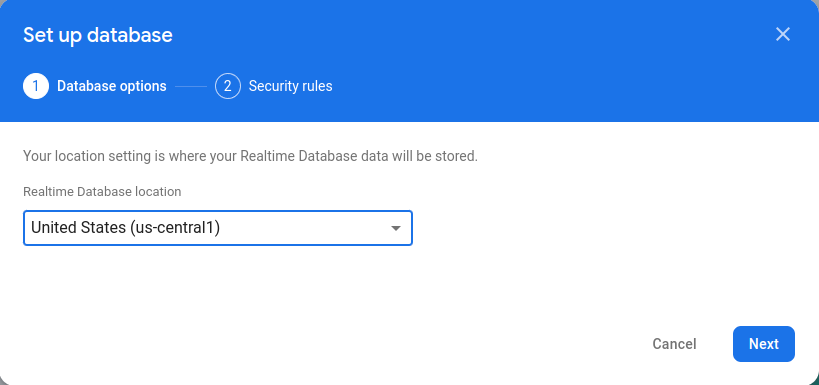
- Select Start in test mode and then click Enable. With Realtime Database enabled, you need the ability to reference it from the CameraStream client app.
- In the Firebase console, select
 Project settings > Project settings >
  Add Firebase to your Web App to launch the setup workflow.
 - If you already added an app to your Firebase project, click Add app to display the platform options.
- Enter a nickname for the app, such as
My web app, and then click Register app. - In the Add Firebase SDK section, select Use <script> tag.
- Copy the values from the
firebasebaseConfigobject and then paste them into thecamaerastream-start/public/webrtc_generator.jsfile.
const firebaseConfig = {
  apiKey: "XXXXX",
  authDomain: "XXXXX",
  projectId: "XXXXX",
  storageBucket: "XXXXX",
  messagingSenderId: "XXXXX",
  appId: "XXXXX",
  measurementId: "XXXXX"
};
- Click Continue to console to complete the process. You see the newly created web app on the Project settings page.
4. Create a WebRTC camera
Now that you configured your Action, your cloud service needs to handle the following intents:
- A
SYNCintent that occurs when Assistant wants to know what devices the user has connected. This is sent to your service when the user links an account. You should respond with a JSON payload of the user's devices and their capabilities. - An
EXECUTE/QUERYintent that occurs when Assistant wants to control a device on a user's behalf. You should respond with a JSON payload with the execution status of each requested device.
In this section, you update the functions that you previously deployed to handle these intents.
Update the SYNC response
- Navigate to the
functions/index.jsfile. It contains the code to respond to requests from Assistant. - Edit the
SYNCintent to return the device's metadata and capabilities:
index.js
app.onSync((body) => {
return {
  requestId: body.requestId,
  payload: {
    agentUserId: USER_ID,
    devices: [{
      id: 'camera',
      type: 'action.devices.types.CAMERA',
      traits: [
        'action.devices.traits.OnOff',
        'action.devices.traits.CameraStream',
      ],
      name: {
        defaultNames: ['My WebRTC Camera'],
        name: 'Camera',
        nicknames: ['Camera'],
      },
      deviceInfo: {
        manufacturer: 'Acme Co',
        model: 'acme-camera',
        hwVersion: '1.0',
        swVersion: '1.0.1',
      },
      willReportState: false,
      attributes: {
        cameraStreamSupportedProtocols:['webrtc'],
        cameraStreamNeedAuthToken: true,
        cameraStreamSupportsPreview: true
      },
    }],
  },
};
});
USER_IDis not defined in the code. Add the following underconst _ = require('underscore');:
// Hardcoded user ID
const USER_ID = '123';
Handle the EXECUTE intent
The EXECUTE intent handles commands to update device state. The response returns the status of each command—for example, SUCCESS, ERROR, or PENDING—and the new device state.
To handle an EXECUTE intent, edit the EXECUTE intent to return the signaling endpoint of the Firebase project in the functions/index.js file:
index.js
app.onExecute(async (body,headers) => {
  var array = headers.authorization.split(' ');
  var snapshot = await firebaseRef.ref('/userId/'+array[1]).once('value');
  var offerGenLocation = snapshot.val().type;
  const {requestId} = body;

  var result = {
    status: 'SUCCESS',
    states: {
      cameraStreamProtocol: 'webrtc',
      cameraStreamSignalingUrl:'https://us-central1-<project-id>.cloudfunctions.net/signaling?token='+array[1], // TODO: Add Firebase hosting URL
      cameraStreamIceServers: '',
      cameraStreamOffer:'',
      cameraStreamAuthToken:'',
    },
    ids: [
      'camera'
    ],
  };

  return {
    requestId: requestId,
    payload: {
      commands: [result],
    },
  };
});
Handle Cross-origin resource sharing (CORS)
To handle CORS due to the use of the POST method to send the SDP, add the Firebase Hosting URL to the allowlist array in the functions/index.js file:
index.js
'use strict';
.....

var allowList = ['https://www.gstatic.com','https://<project-id>.web.app']; //TODO Add Firebase hosting URL.
For more information about CORS, see Cross-Origin Resource Sharing (CORS).
Handle Stream Termination
To handle WebRTC stream termination, add the Firebase ‘signaling' function URL to the public/webrtc_generator.js file:
webrtc_generator.js
terminateButton.onclick = function(){
  console.log('Terminating Stream!!')
  var signalingURL = 'https://us-central1-<project-id>.cloudfunctions.net/signaling'; //TODO Add Firebase hosting URL
   var http = new XMLHttpRequest();
Deploy to Firebase
To deploy to Firebase, deploy the updated cloud fulfillment with the Firebase CLI:
$ firebase deploy
This command deploys a web app and several Cloud Functions for Firebase:
...

✔ Deploy complete!

Project Console: https://console.firebase.google.com/project/<project-id>/overview
Hosting URL: https://<project-id>.web.app
Configure your Developer Console project
- Go to the Developer Console.
- Click Create Project, enter a name for the project, and click Create Project.
Select the Cloud-to-cloud Integration
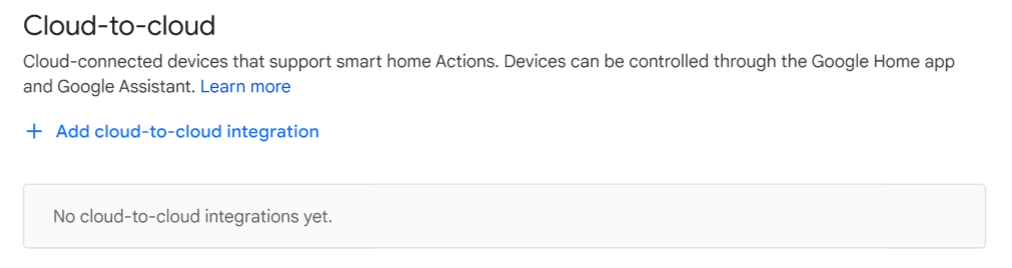
On the Project Home in the Developer Console, select Add cloud-to-cloud integration under Cloud-to-cloud.
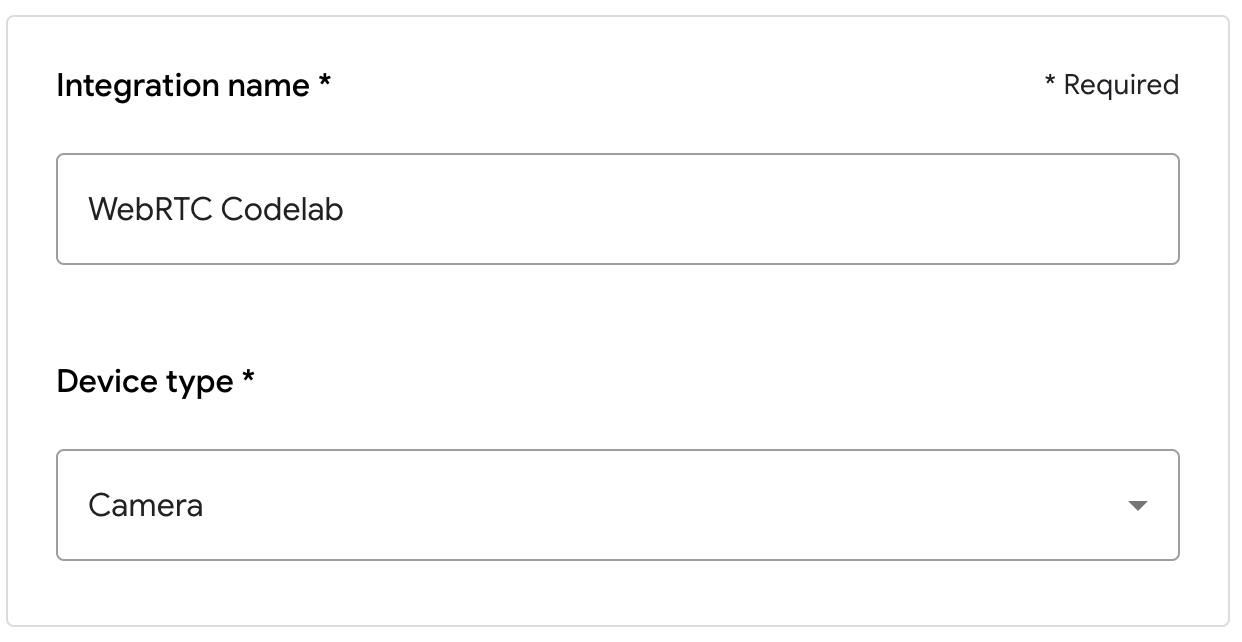
- Enter an integration name, and select Camera under Device type. This name appears in the Google Home app later when there's a device to set up. For this codelab, we entered WebRTC Codelab as the display name, but you can use a different name.
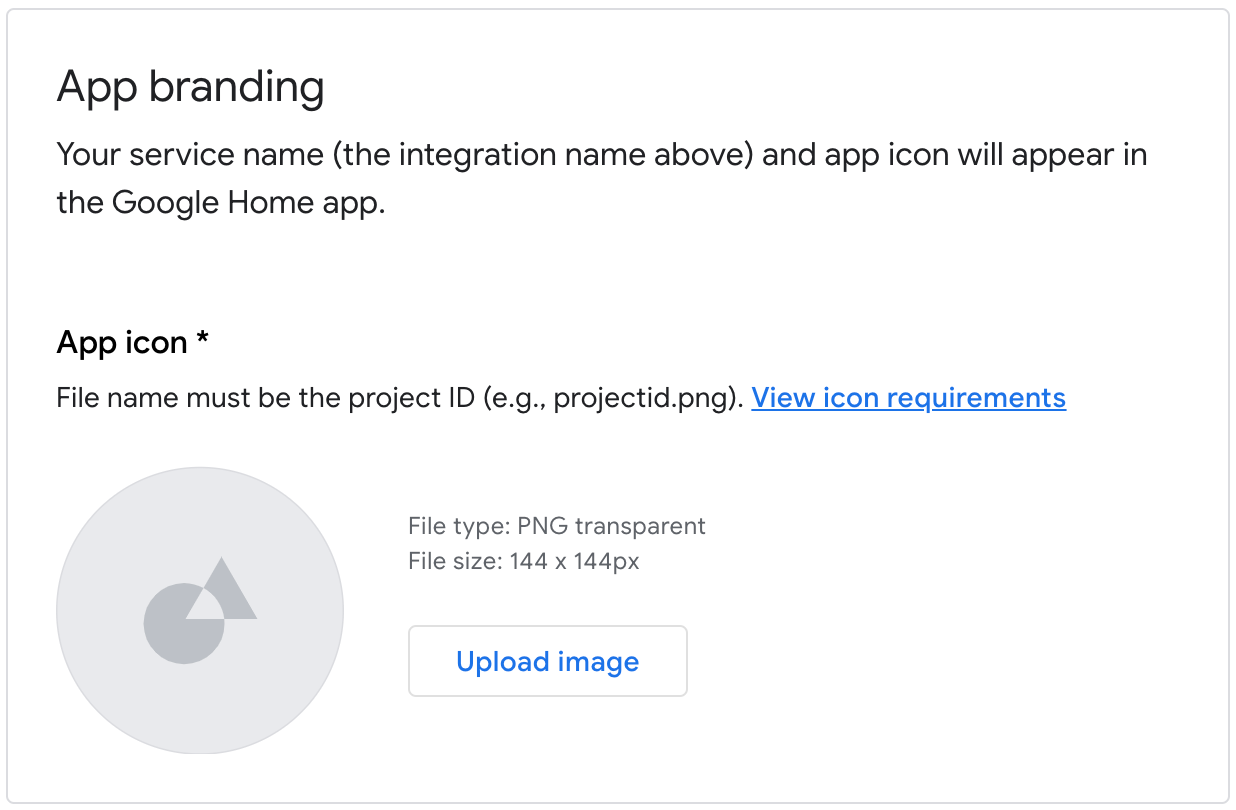
- Under App branding, upload a
pngfile for the app icon, sized 144 x 144px, and named.png
Enable account linking
To enable account linking after your project is deployed, follow these steps:
- Go to the Developer Console and open the project.
- Under the Cloud-to-Cloud section, click Develop > Edit next to the integration.
- In the Setup & configuration page, find the Account Linking section and enter the following information in the corresponding text boxes:
Client ID |
|
Client secret |
|
Authorization URL |
|
Token URL |
|
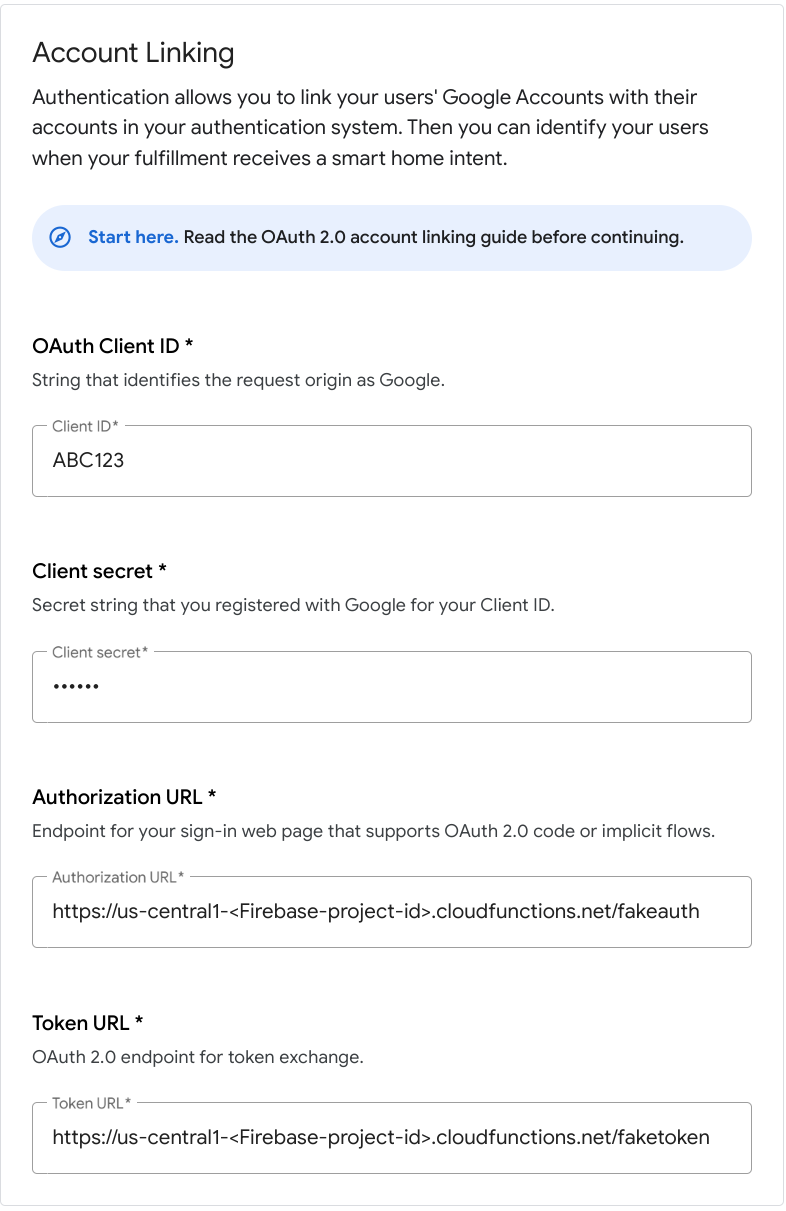
- Click Save > Test.
5. Test the virtual WebRTC camera
- Navigate to the Hosting URL that you saw when you deployed your Firebase project. You see the following interface, which is the CameraStream client app:
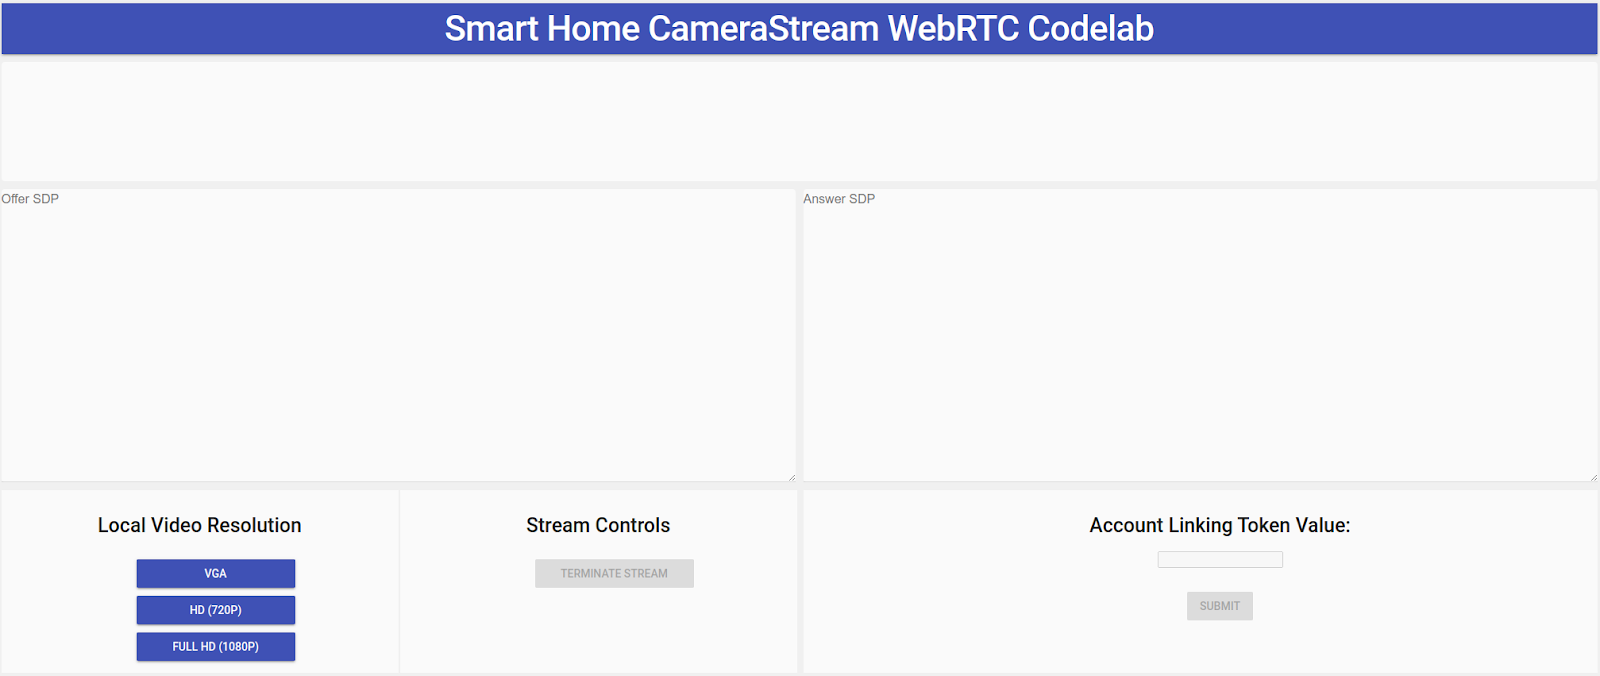
- In the Local Video Resolution panel, select the desired video.
- Grant permission to the CameraStream client app to access your webcam and microphone. A video feed from your webcam appears on the client.
Link to the smart home CameraStream Action
- In the Google Home app, tap Add > Works with Google.
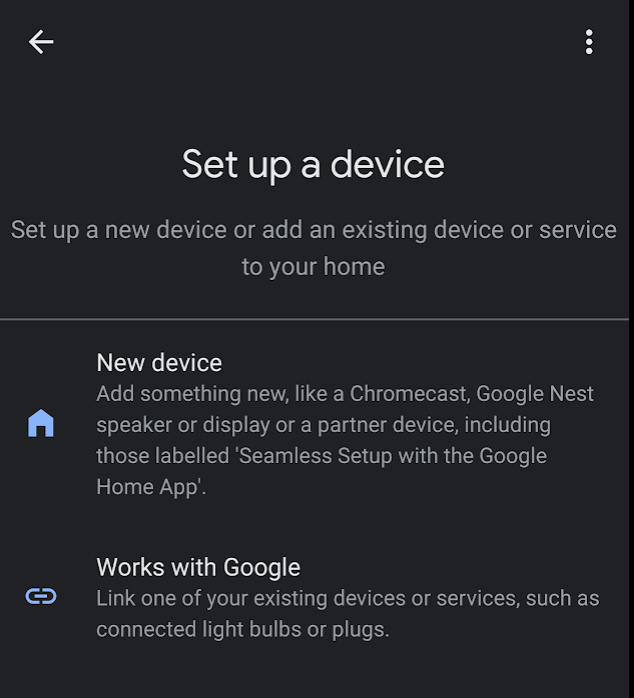
- Search for the Action that you created and then select it.

- Note the unique, five-character, alphanumeric code because you need it later.
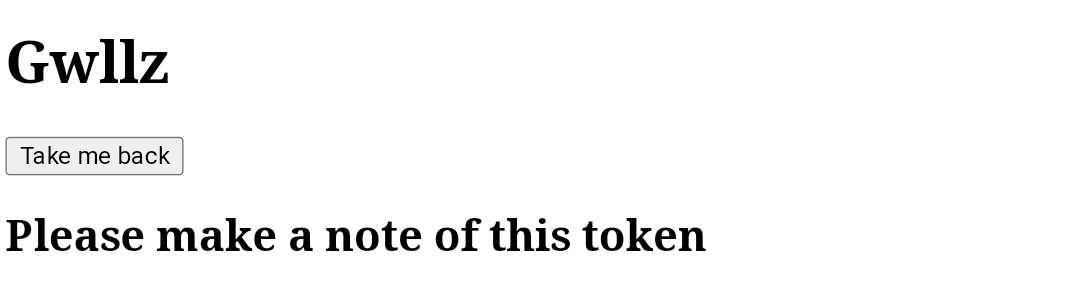
- Tap Take me back. The WebRTC camera is added to your structure in the Google Home app.
Start a WebRTC stream
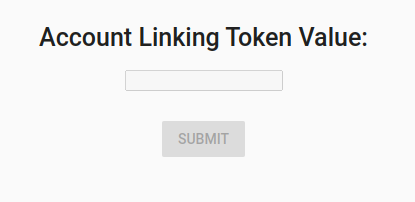
- On the web page for the CameraStream client app, enter the alphanumeric code from the last section in the Account linking token value text box and then click Submit.
- To start a WebRTC session from your Google smart display device, do one of the following:
- Say "Hey Google, stream WebRTC Camera."
- On your Google smart display device, tap Home control > Camera > WebRTC camera.
From the Google smart home CameraStream client app, you see that the Offer SPD and Answer SDP successfully generated and exchanged. The image from your webcam is streamed to your Google smart display device with WebRTC.
6. Congratulations
Congratulations! You learned how to stream from your webcam to a Google Nest display device with the WebRTC protocol.