The commissioning flow in your app using the Commissioning API can be initiated two ways: directly in your app, or through an app picker in the Fast Pair process. This section covers the user experience (UX) for each.
Initiated by the app
In this scenario, the user starts commissioning in your app, typically from a call-to-action (CTA) of "Add Device". We recommend featuring the Add Device button as follows:
- Where users see all of their devices, like a Controls page
- Where users can manage the home, like a Settings page
- The Home page of your app
When commissioning is complete, we recommend landing the user at the Home page of the app, or at location in the app that either shows the user the device controller they just set up or show a full list of all devices, including the device that was just set up.
The UX is illustrated in Figure 2:
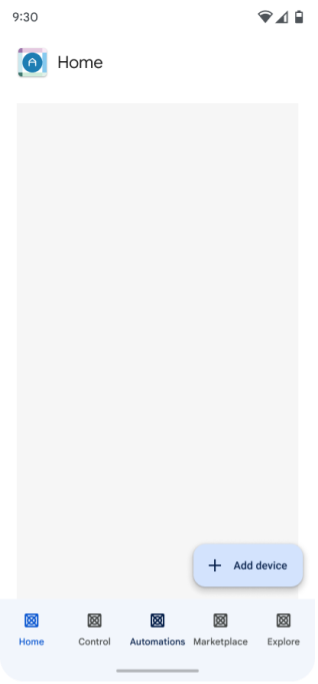
The user of the app clicks Add device.
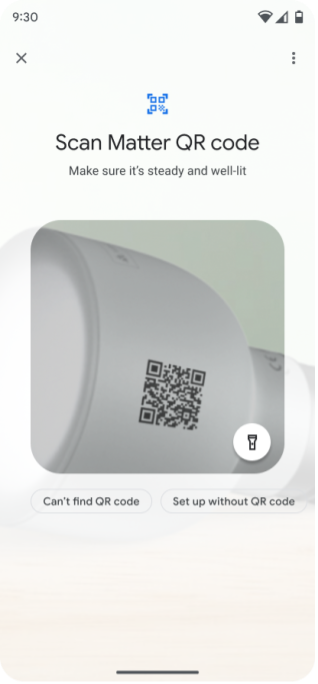
The user scans the QR code or enters the pairing code.
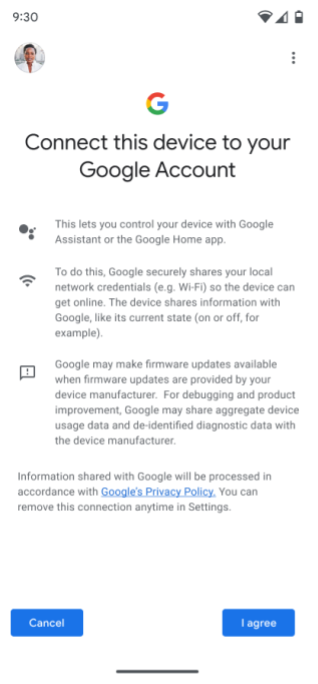
The user is prompted to agree to add the device to the Google fabric (this corresponds to "Consent + Metadata" in Figure 1) and to select the Google Account to use.
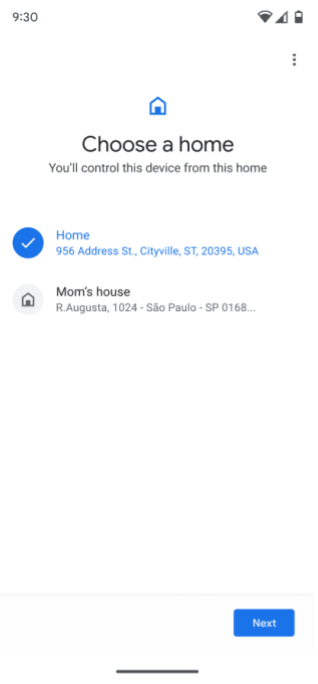
If the user has more than one Home, they're prompted to select a Home. If they don't have a Home set up, a Home named "Home" is automatically created.
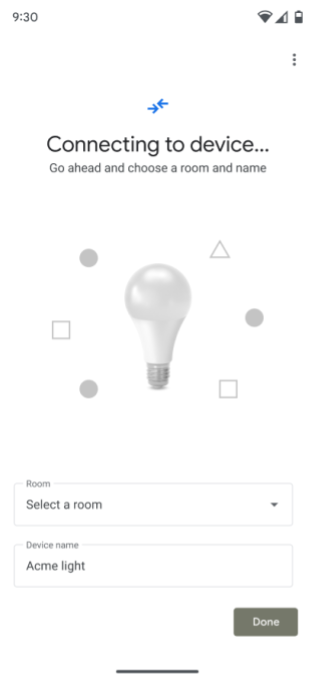
The Commissioning API connects to the device.

The user is prompted to select the room where the device is located.
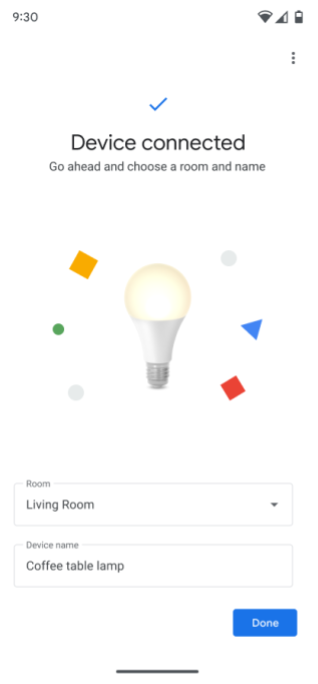
The user is prompted to rename the device.

The Commissioning API generates Matter credentials, checks network connectivity, then executes the commissioning process, connecting the device to the chosen fabric.
If permission to the user's structure and devices have already been given, the device should appear in the Home along with other devices in that Home, and may be controlled using the app.
If permission to the user's structure and devices have not yet been given, the device shouldn't be visible or controllable in the app yet. Permission is required for accessing and controlling the device in an app.
Initiated by Fast Pair
Commissioning can also be initiated using Fast Pair in Android. After scanning the device's Matter QR code, the user is prompted to select an app to continue the commissioning process. Selecting your app utilizes the Commissioning API from the app, as illustrated in Figure 3.
If the user does not have the app installed on their mobile device, they are prompted to install prior to continuing. The UX from the consent screen onwards is the same as that in Figure 2.
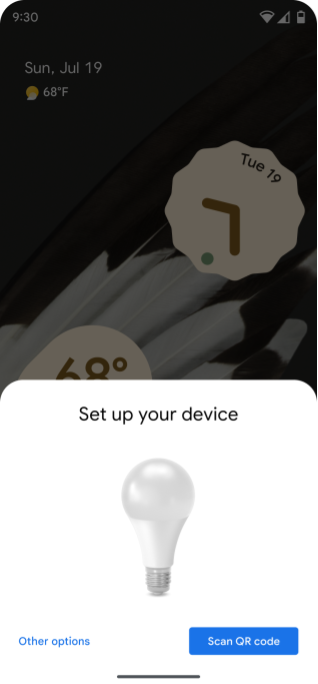
The user is prompted to scan a QR code.
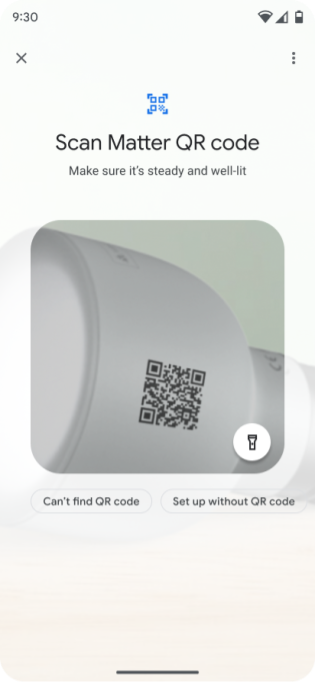
The user scans the device's Matter QR code.
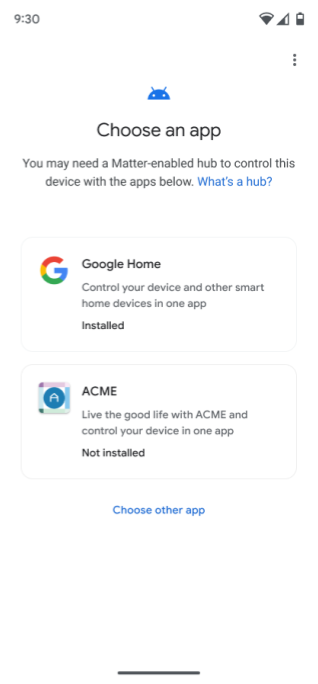
The user is prompted to select an app to continue the commissioning process.
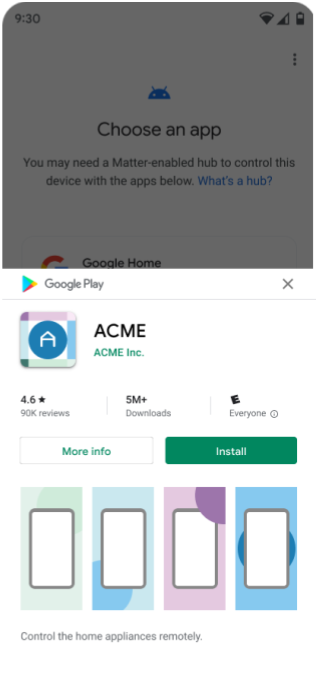
If the app isn't already installed, the user is prompted to install it.
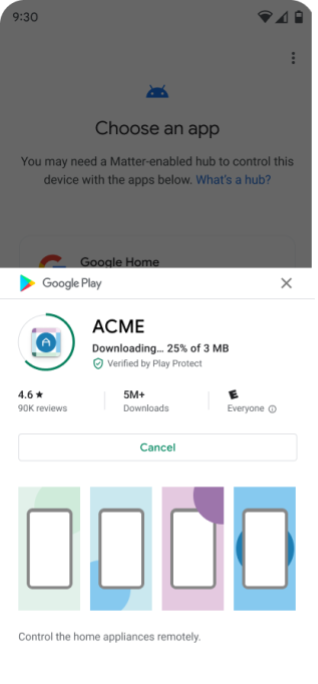
The app downloads from the Google Play Store.
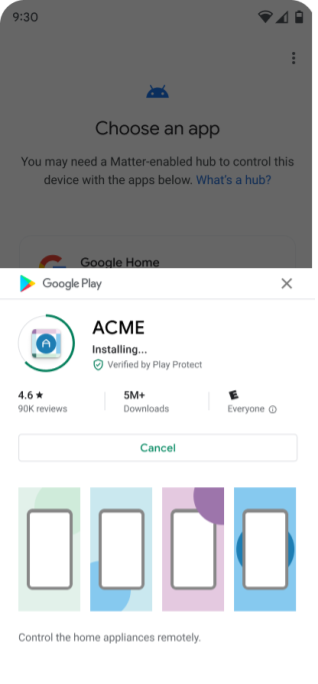
The app is installed.
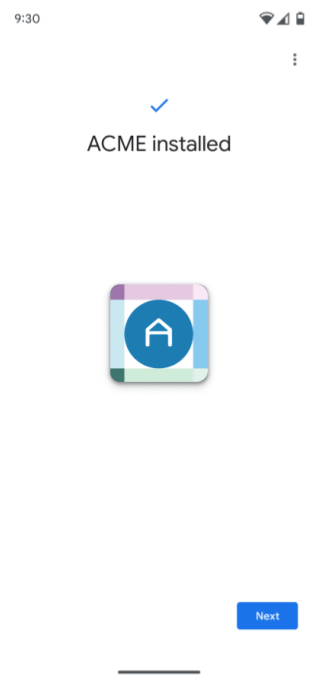
Once the app is successfully installed, the user is prompted to continue.
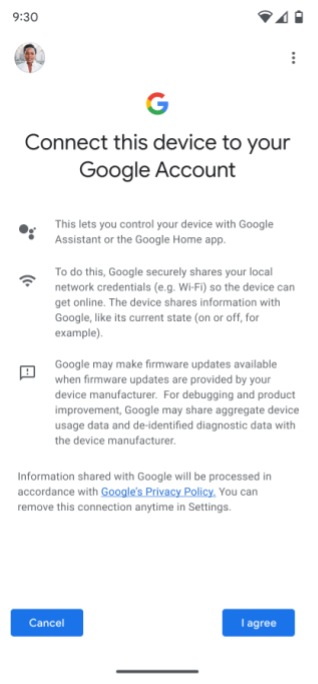
The user is prompted to agree to add the device to the Google fabric (this corresponds to "Consent + Metadata" in Figure 1) and to select the Google Account to use.
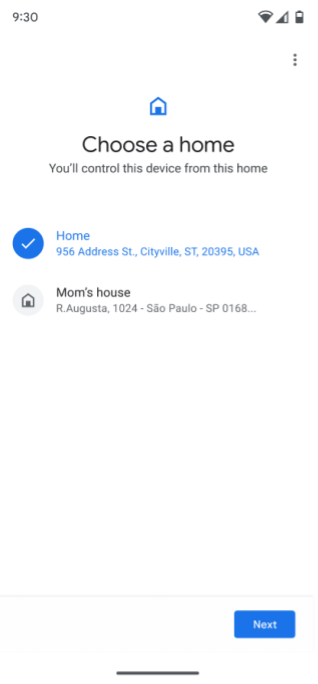
If the user has more than one Home, they're prompted to select a Home. If they don't have a Home set up, a Home named "Home" is automatically created.
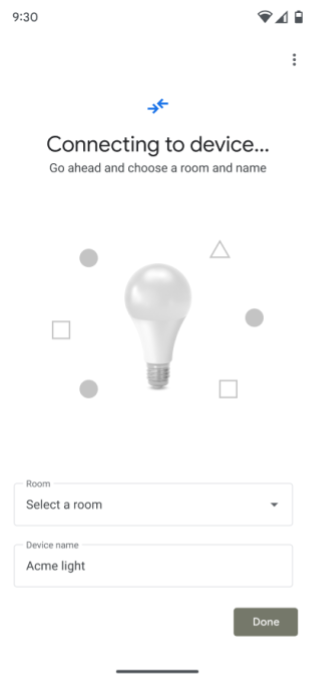
The Commissioning API connects to the device.
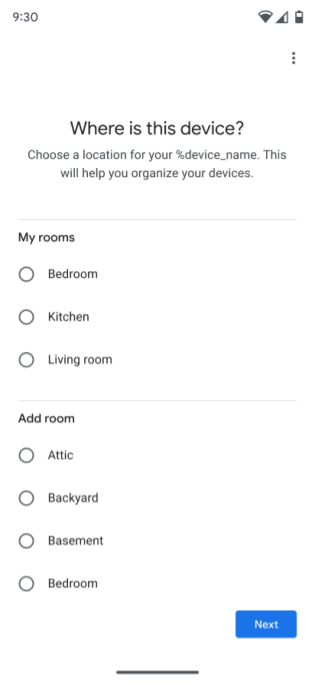
The user is prompted to select the room where the device is located.
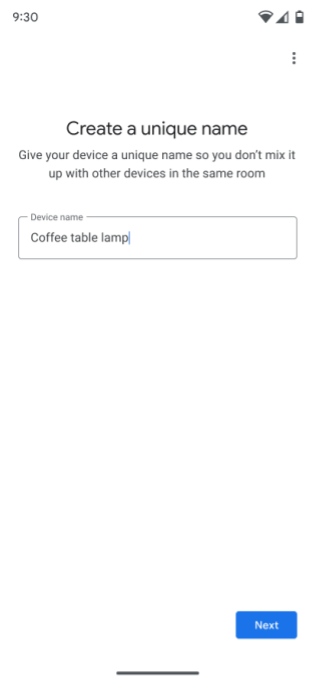
The user is prompted to rename the device.
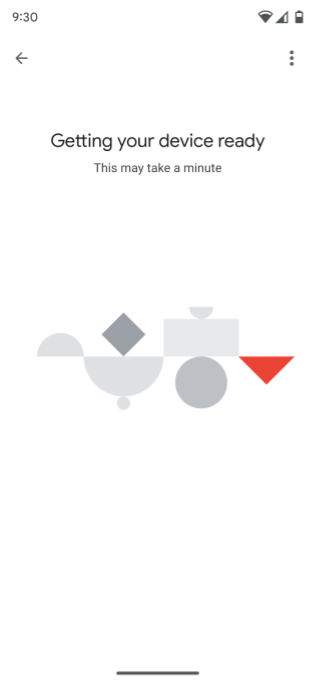
The Commissioning API generates Matter credentials, checks network connectivity, then executes the commissioning process, connecting the device to the chosen fabric.
If permission to the user's structure and devices have already been given, the device should appear in the Home along with other devices in that Home, and may be controlled using the app.
If permission to the user's structure and devices have not yet been given, the device shouldn't be visible or controllable in the app yet. Permission is required for accessing and controlling the device in an app.
App picker
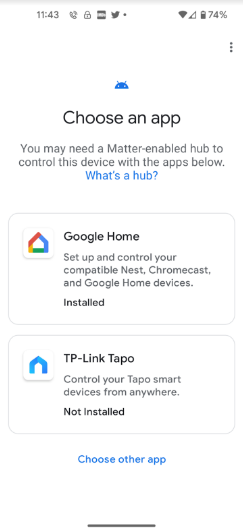

There are two ways your app appears in the app picker during the commissioning process:
- On the Choose an app screen.
- If users select Choose other app, it will show on the Other Installed Apps screen.
Suggested Apps
The app picker displays two suggested apps.
- The first is always Google Home app (GHA).
- The second is for the preferred app of the device maker, if it is defined in a
Google Home Developer Console project associated with the VID or PID of the
device. (This option does not apply to app developers who don't
build Matter devices.)
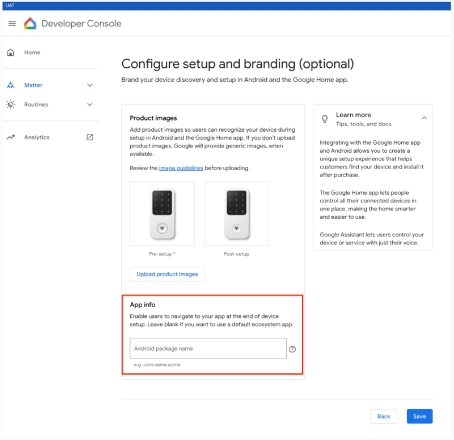
There are two scenarios when the apps are on the Choose an app screen.
- Installed - Google Play services check that the application supports
the
ACTION_COMMISSION_DEVICEintent filter. If the intent filter is missing the user is directed to the Play store to update the app. - Not Installed - The user is directed to the Play store to install the app before continuing.
