Before using any of the Home APIs for Android, the app must have permission to access devices in the user's home, referred to in the API as the structure. With the Permissions API, the user can, using their Google Account, grant Home APIs apps access to devices in their home.
Integrate the Permissions API
Before continuing, make sure you have followed
Initialize the home on Android.
The homeManager instance from that step is used in all Permissions
examples here.
First, register an
ActivityResultCaller
with the SDK. For example, this is how the Sample App handles it:
override fun onCreate(savedInstanceState: Bundle?) {
    super.onCreate(savedInstanceState)
    homeManager.registerActivityResultCallerForPermissions(this)
  }
Check for permissions
Prior to requesting permissions, we recommend you check to see whether the user
of the app has already granted consent to access the structure. To do so, call
the
hasPermissions()
method of the Home instance to obtain a Flow of
PermissionsState
values:
val permissionsReadyState =
homeManager.hasPermissions().collect { state ->
    when (state) {
      PermissionsState.GRANTED -> println("Permissions granted, no need to request permissions")
      PermissionsState.PERMISSIONS_STATE_UNAVAILABLE ->
          println("Permissions state unavailable, request permissions")

      PermissionsState.NOT_GRANTED ->
          println("OAuth permission is enabled but not granted yet, request permissions")

      PermissionsState.PERMISSIONS_STATE_UNINITIALIZED -> println(
          "Permissions state is not initialized yet. Clients should wait for another status update"
      )
      else ->
          throw IllegalStateException("""
            HomeClient.hasPermissions state should be PermissionsState.GRANTED,
            PermissionState.PERMISSIONS_STATE_UNINITIALIZED, or
            PermissionsState.PERMISSIONS_STATE_UNAVAILABLE. Actual state: $state
          """.trimIndent())
    }
}
If the check returns a PermissionsState of NOT_GRANTED or
PERMISSIONS_STATE_UNAVAILABLE, it means that either the user or the
application lacks access to the structure.
If the check returns a PermissionsState
of GRANTED but a subsequent call to structures() returns no structures,
then either the user has revoked access
to the app through the Google Home app (GHA) settings page, or the user
lacks the required access.
Request permissions
Permission must be granted to your app in order to access structures and devices within a given structure.
If the user has not already granted permissions, use the
requestPermissions()
method of the Home instance to launch the Permissions UI and process the result:
fun requestPermissions(scope: CoroutineScope, onShowSnackbar: (String) -> Unit) {
  scope.launch {
    val result =
      try {
        homeManager.requestPermissions()
      } catch (e: HomeException) {
        PermissionsResult(
          PermissionsResultStatus.ERROR,
          "Got HomeException with error: ${e.message}",
        )
      }
    when (result.status) {
      PermissionsResultStatus.SUCCESS -> {
        Log.i(TAG, "Permissions successfully granted.")
      }
      PermissionsResultStatus.CANCELLED -> {
        Log.i(TAG, "User cancelled Permissions flow.")
        onShowSnackbar("User cancelled Permissions flow")
      }
      else -> {
        Log.e(
          TAG,
          "Failed to grant permissions with error: ${result.status}, ${result.errorMessage}",
        )
        onShowSnackbar("Failed to grant permissions with error: ${result.errorMessage}")
      }
    }
  }
}
For the Permissions UI to properly launch, you must have already set up OAuth for your app.
Grant permissions
Now you should be able to run your app and have a user grant permissions. The type of users that can grant permission, and the device types that are available to grant permissions for, will differ depending on whether you have registered your app in the Google Home Developer Console.
Developer Console registration is required to publish an app using the Home APIs. It is not required to test and use the Home APIs.
If an app is not registered in the Developer Console, it will be in an unverified state. This is recommended for testing use of the Home APIs:
Only users registered as test users in the OAuth console can grant permissions for the app. There is a limit of 100 test users for an unverified app.
An unverified app will have access to devices of any device types that are supported by OAuth for the Home APIs (the list of device types in the Developer Console). All devices in a structure will be granted.
If an app is registered in the Developer Console and has been approved for access to one or more device types, and brand verification has been completed for OAuth, it will be in a verified state. This state is required for launching an app to production:
- Test user limits no longer apply. Any user can grant permission to the app.
- The user can only grant permission to the device types that were approved in the Developer Console.
Now that OAuth is set up, the app's call to requestPermissions() triggers the
following dialogs:
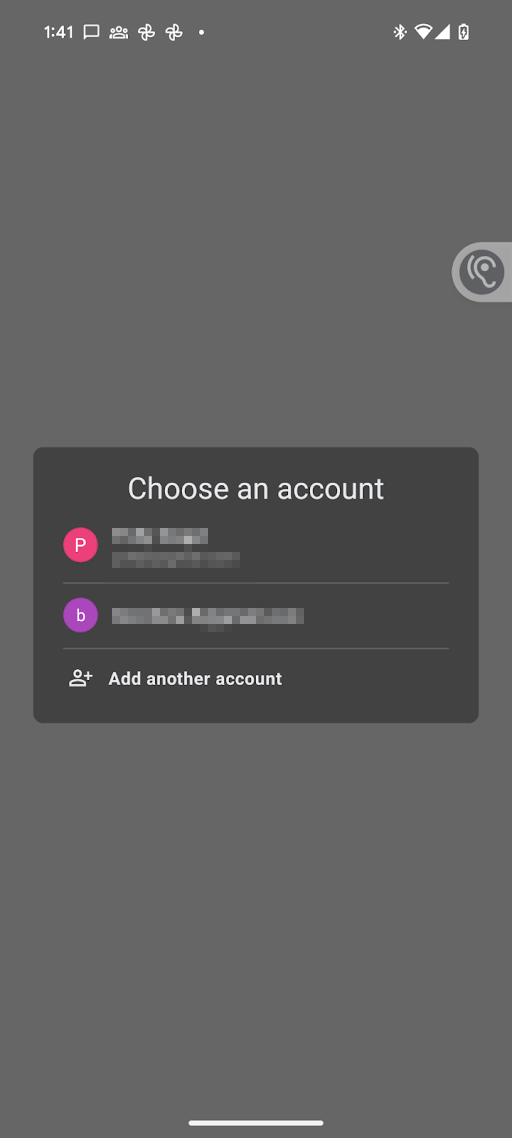
- The user is prompted to select the Google Account they want to use.
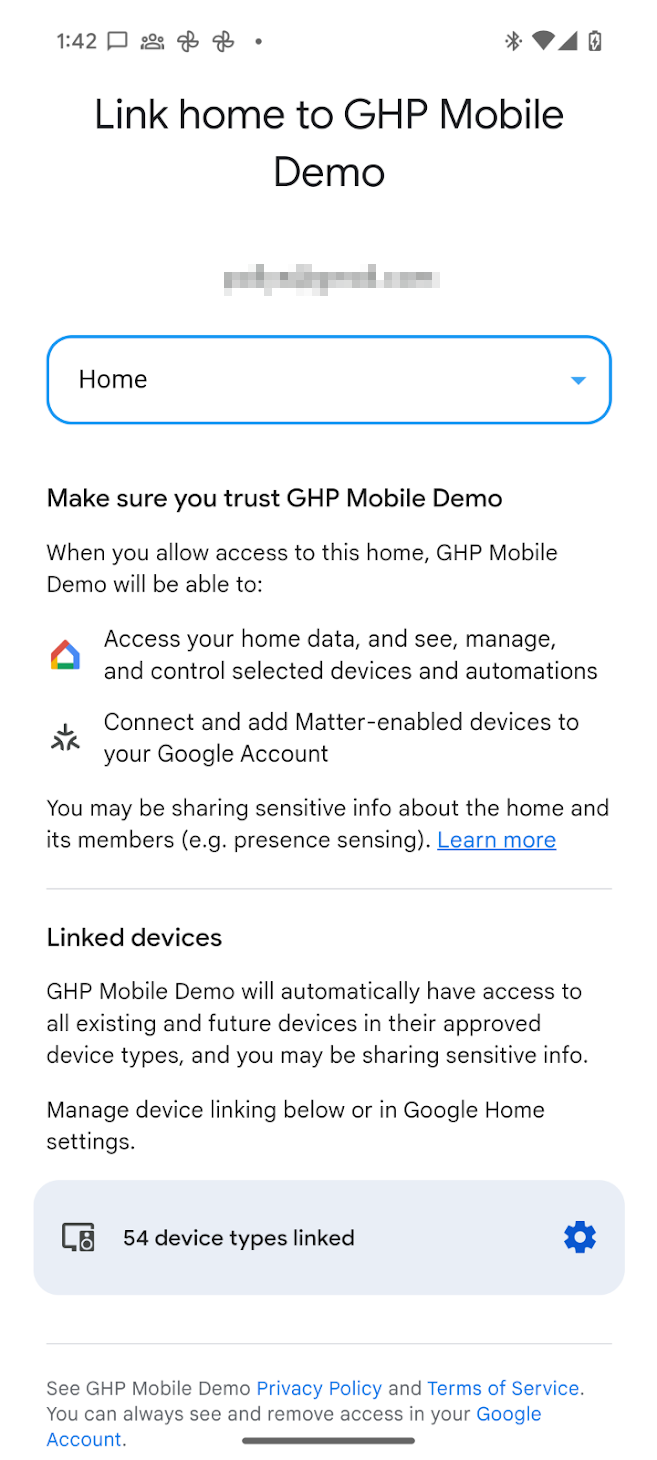
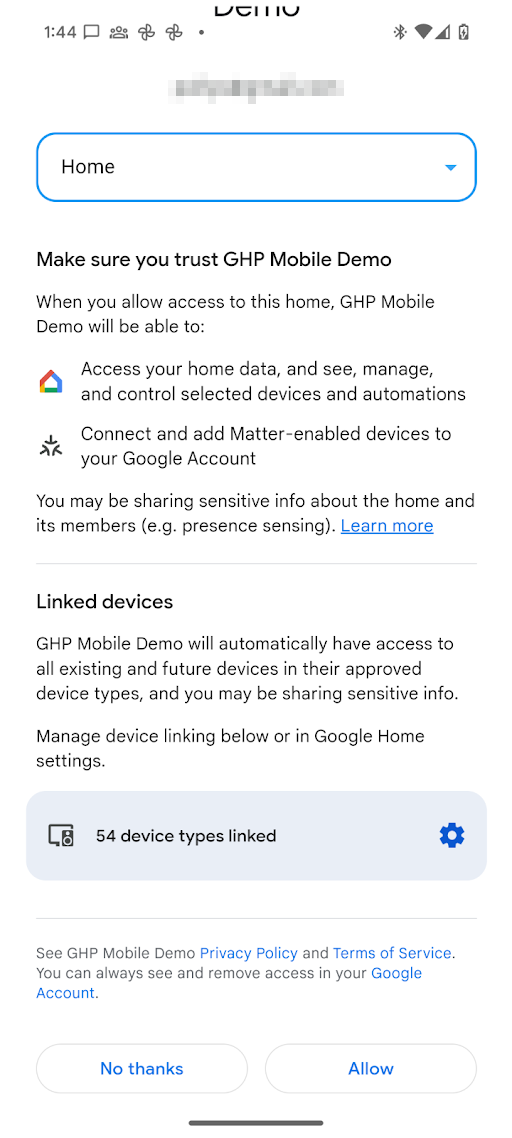
- The user is prompted to select the structure they want to grant the app
access to.
- For an unverified app, all device types supported by the Home APIs are available to the app.
- For a verified app, the user can grant permission to only the device types that have been approved in Developer Console.
- For sensitive device types that the app has access to manage, the user can restrict access on a per-device basis. For example, if a user has three locks, they can grant access to only one of those locks.
Once permission has been granted, the app can use the Home APIs to read the state of and control the devices in the structure. If the user doesn't grant permission to the app for a particular device type or sensitive device, the app won't be able to use the Home APIs to access, control, or automate it.
Change permissions
To grant permission to access devices in a different structure, the account picker can be launched to allow the user to pick the Google Account and structure to switch to. During this process, the user will be presented with the consent screen again, even if consent was granted previously.
This can be done by calling requestPermissions() again with the forceLaunch
flag set to true:
homeManager.requestPermissions(forceLaunch=true)
Revoke permissions
Users can revoke previously-granted access:
Through the Google MyAccounts page > Data & privacy > Third-party apps & services. This will revoke the OAuth token that was issued when initial consent was granted, and will revoke access to any instance of the app that the user was using across all surfaces (phones) and structures.
The user may be directed with a deep link to the Third-party apps & services sub-page using the following URL scheme:
https://myaccount.google.com/connections/link?project_number=Cloud project_numberThrough the GHA > Settings > Linked Apps page. Clicking on in the GHA will take you to the Settings page. From there, click the Linked Apps tile which takes you to a page that looks similar to the consent screen. From this page the user can remove access to the app. The user can use this same page to change which device types or specific sensitive devices are accessible to the app.
OkGoogle permissions
The
okGoogle
command is a device-level command and can be used to automate any device in the
structure. However, a Home APIs app may not have access to every device. The
following table describes how permissions are enforced in such cases.
| Automation | Trait | Permissions enforcement |
|---|---|---|
| At 10:00pm, broadcast "Bedtime" on bedroom speaker. |
AssistantBroadcastTrait
on device. |
Automation creation:
|
| At 10:00pm, broadcast "Bedtime" on all devices |
AssistantBroadcastTrait
on structure. |
Automation creation:
|
| At 10:00pm, "play some music" |
AssistantFulfillmentTrait.OkGoogleCommand
|
Automation creation:
|
| Whenever someone says "play some music" |
VoiceStarterTrait.OkGoogleEvent
|
Automation creation:
|
Guidance if user revokes full permissions
If the user revokes full permissions, all existing automations will stop working. Also, if the user revokes access to specific devices, then starters, conditions, and actions associated with those devices will stop working.
Each time the app starts, be sure to check that the permissions are still in effect. If they have been revoked, then be sure that all previous data are removed, including any data cached in the application.


